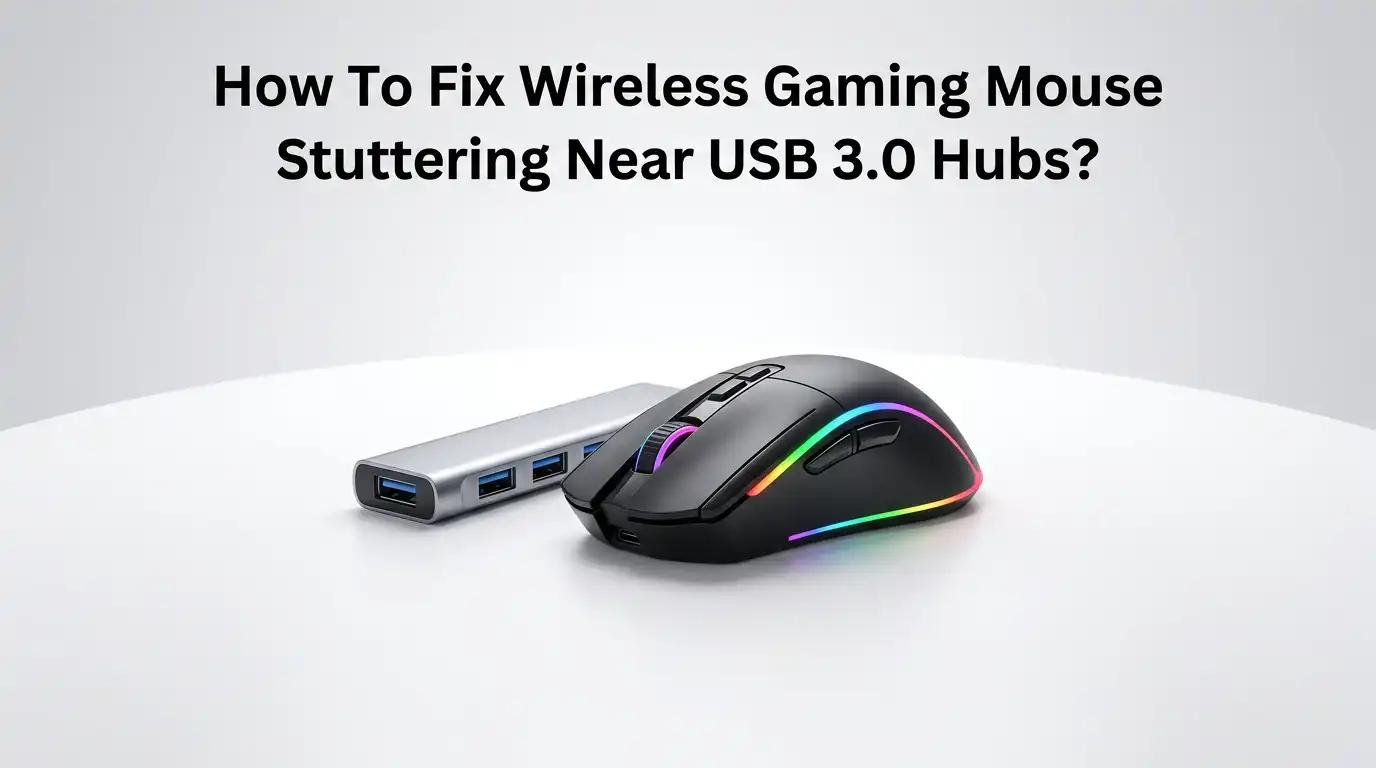
How To Fix Wireless Gaming Mouse Stuttering Near USB 3.0 Hubs?
Your aim feels off. The cursor jumps. Your shots miss. You blame your skills, but the real problem sits right next to your wireless receiver. USB 3.0 hubs leak radio noise that drowns out your mouse signal.
This is a known hardware issue, not a defect in your gear. The good news is simple. You can fix it today with tools you already own. This guide walks you through every working solution step by step.
You will learn why the stutter happens and how to stop it for good. No new mouse needed. No expensive gadgets. Just smart placement and a few easy tweaks. Let us turn that laggy cursor back into a smooth, fast, and reliable pointer.
In a Nutshell:
- The cause is radio interference. USB 3.0 ports and hubs emit broadband noise in the 2.4 GHz band. Intel research shows this noise can raise the noise floor by nearly 20 dB. Your wireless mouse uses that same 2.4 GHz band, so the signal gets buried.
- Distance is your best friend. Intel tests proved that moving the receiver away from the USB 3.0 device removed the lag completely at 3 and 5 feet. Even one foot of separation makes a big difference.
- Switch ports first. Move your dongle from a USB 3.0 port (blue or teal inside) to a USB 2.0 port (black or white). USB 2.0 barely touches the 2.4 GHz band.
- A short USB extension cable solves most cases. It lifts the receiver off the noisy hub and brings it closer to your mouse.
- Shielding helps stubborn setups. Better cables and grounded hubs cut radiated noise. Intel found full shielding reduced noise by about 12 dB.
- Hardwire as a last resort. Switching to a wired or dual-mode connection skips the radio problem entirely.
Why Does Your Wireless Mouse Stutter Near USB 3.0 Hubs?
Your mouse and its receiver talk over the 2.4 GHz radio band. USB 3.0 moves data at 5 Gbit/s, and that fast signaling leaks broadband noise across a wide range, including 2.4 GHz to 2.5 GHz. This overlap is the heart of the problem.
Intel measured this noise and found it raises the noise floor by nearly 20 dB near a USB 3.0 device. When noise climbs, your receiver struggles to hear the mouse. The signal-to-noise ratio drops. Your cursor then jumps, freezes, or lags behind your hand.
The noise is broadband, which means you cannot filter it out, because it sits inside the exact band your mouse needs. Knowing this makes the fix obvious. You must separate the signal from the noise.
Step 1: Confirm USB 3.0 Interference Is Really the Cause
Do not fix the wrong thing. First, prove the interference is to blame. Unplug every USB 3.0 device near your receiver. This includes external drives, hubs, webcams, and capture cards. Then test your mouse. If the stutter stops, you found your culprit.
Next, plug devices back in one at a time. Watch for the moment the lag returns. That device is your noise source. You can also try a quick distance test. Hold the receiver in your hand and walk it a foot away from the hub. If the cursor smooths out, distance is your fix.
Pros: This costs nothing and takes two minutes. It saves you from buying parts you do not need.
Cons: It needs patience and some trial swapping. It does not solve the issue by itself, it only confirms it.
Step 2: Move the Receiver to a USB 2.0 Port
This is the fastest real fix. USB 2.0 ports do not emit strong noise in the 2.4 GHz band. Their signaling runs at a much lower frequency, so they leave your mouse signal alone. Look at your ports closely. USB 3.0 ports usually show blue or teal plastic inside.
USB 2.0 ports show black or white. Pull your dongle from the blue port and move it to a black one. Test your mouse right away. Many gamers fix their stutter with this single change. If your PC has no spare USB 2.0 port, a basic USB 2.0 splitter on a far port works too.
Pros: It is free, instant, and needs no extra hardware. It targets the root cause directly.
Cons: Some modern laptops and PCs only ship USB 3.0 ports. In that case, you need the next steps instead.
Step 3: Use a Short USB Extension Cable
When you cannot dodge USB 3.0 ports, create distance instead. A short USB extension cable lifts your receiver off the noisy hub. Plug the cable into your port, then plug the dongle into the cable. Now place the receiver on your desk, near your mouse and away from the hub.
Intel proved this works. In their tests, moving the dongle to the opposite side of the laptop with an extension cable removed all lag at 3 and 5 feet. Aim for at least 12 inches of separation. Closer to your mouse also means a stronger signal path, which adds extra stability.
Pros: It is cheap, simple, and highly effective. It also boosts signal by shortening the mouse-to-receiver gap.
Cons: A loose cable can clutter your desk. Very low-quality cables may add their own minor noise, so pick a shielded one.
Step 4: Reposition Your USB Hub and Cables
Sometimes the hub itself sits too close to your hand and mouse. Move it. Push your USB 3.0 hub to the back or far side of your desk. Keep its cables away from your mousepad and receiver.
Intel found that even stacking a dongle directly above a USB 3.0 port caused complete signal loss, with “No Response” at every distance tested. So vertical closeness hurts just as much as side-by-side closeness.
Route your USB 3.0 cables so they do not cross over or rest near the receiver. Treat the hub like a small radio transmitter. The farther it sits from your mouse path, the cleaner your signal stays.
Pros: It costs nothing and uses gear you already own. It pairs well with every other fix here.
Cons: Desk space limits how far you can move things. Tight setups may need an extension cable to gain real distance.
Step 5: Switch to a Better Shielded USB Cable
Cheap cables leak noise. High quality shielded USB 3.0 cables cut radiated interference. Thicker shielding traps the electromagnetic noise inside the cable instead of letting it spread into the air.
Replace any thin, no-name USB 3.0 cables feeding your hub or drives. Look for cables that clearly list shielding or ferrite cores. Intel research backs this up. They found that fully shielding a USB 3.0 device reduced its radiated noise by about 12 dB.
That is a large drop. Less leaked noise means a cleaner band for your mouse. This fix shines when you must keep USB 3.0 devices running close to your receiver and cannot move them far away.
Pros: It quiets the noise at its source. It helps every nearby 2.4 GHz device, not just your mouse.
Cons: Good cables cost more than basic ones. The gain alone may not fully fix severe cases, so combine it with distance.
Step 6: Choose a Powered and Grounded USB Hub
A poorly grounded hub radiates more noise. Grounding gives that noise a path to escape safely. Intel stressed that the USB 3.0 connector shield must connect to a metal chassis through grounding tabs or screws.
A quality powered hub with a metal body and a grounded adapter does this better than a flimsy plastic one. Powered hubs also deliver steady voltage, which keeps your devices stable.
If your current hub is a cheap unpowered plastic unit, upgrading to a grounded metal hub can lower the noise floor. Place the hub away from your receiver even after upgrading. Grounding reduces noise, but it does not erase the need for distance.
Pros: It lowers radiated noise and improves power stability for all connected devices. A metal body adds natural shielding.
Cons: It costs more than a basic hub. Grounding alone will not fully solve a receiver sitting right next to the hub.
Step 7: Wrap Connectors With Shielding as a DIY Fix
If you cannot replace cables yet, shield the noisy spot yourself. The connection point between the USB 3.0 cable and the port leaks the most noise. Wrapping that area in aluminum foil can reduce the interference.
Take a small piece of foil and wrap it around the cable near the connector. Keep the foil from touching exposed pins or contacts. This forms a quick, low-cost shield that blocks some radiated noise from reaching your receiver.
Many users report real improvement with this trick. Think of it as a temporary patch while you wait for proper shielded gear to arrive.
Pros: It costs almost nothing and uses kitchen foil. It works as a fast emergency fix.
Cons: It looks messy and feels fragile. Done wrong, foil can short contacts, so wrap carefully and never cover the metal pins.
Step 8: Update Drivers, Firmware, and Receiver Software
Hardware is not always the only factor. Outdated firmware can make a stutter worse. Mouse makers release updates that improve channel hopping and signal handling. Open your mouse software and check for firmware updates for both the mouse and the receiver.
Update your USB chipset drivers too, since these control how ports behave. Restart your PC after each update. A current driver can help your mouse pick a cleaner channel automatically.
While this rarely fixes pure radio interference on its own, it removes software glitches that mimic interference. Always rule out software before you blame hardware, so you do not chase the wrong problem.
Pros: It is free and may fix software-based lag that looks like interference. Updates can add smarter channel selection.
Cons: It will not stop true radio noise from USB 3.0. Some update tools are slow or clunky to use.
Step 9: Reduce Other 2.4 GHz Traffic and Interference
USB 3.0 is not the only noise source. Wi-Fi routers, Bluetooth devices, and phones all crowd the 2.4 GHz band. Too much traffic on one band makes your mouse signal weaker.
If your router supports dual band, connect your devices to the 5 GHz band instead. This frees up the 2.4 GHz space your mouse depends on. Move your router away from your desk if you can.
Turn off Bluetooth devices you do not need during gaming. Keep phones and wireless headsets a little farther from your receiver. A quieter band means a stronger, steadier mouse connection. This step stacks nicely with all the USB fixes above.
Pros: It improves your whole wireless setup, not just the mouse. Moving to 5 GHz is free on most routers.
Cons: You cannot control neighbors’ networks. Some older devices only support 2.4 GHz and will keep adding traffic.
Step 10: Use a Front Panel or Rear Port Strategically
Port location on your PC matters more than you think. Rear ports often sit closer to the metal chassis, which adds shielding. Front panel ports run on long internal cables that can leak more noise.
Try plugging your receiver into a different physical port and test each one. On many desktops, a rear USB 2.0 port gives the cleanest signal because it sits far from front mounted USB 3.0 hardware.
Test, do not guess. Move the dongle around and watch your cursor in each spot. Combine the best port with a short extension cable, and you place the receiver in the quietest possible location for your specific machine.
Pros: It costs nothing and uses existing ports. It often reveals a clean spot you never tried before.
Cons: It takes trial and error. Laptops offer fewer ports, so your options stay limited.
Step 11: Switch to a Wired or Dual Mode Connection
When nothing else works, skip the radio entirely. A wired connection ignores 2.4 GHz noise completely. Most wireless gaming mice include a USB charging cable that also carries data.
Plug it in, and your mouse runs wired with zero interference. Many modern mice also offer a dual mode design with a low-latency wireless link plus a wired option.
Some even support a magnetic or extended receiver puck that you place right next to the mouse. This puck sits far from the hub and close to your hand, giving the cleanest signal. Use this when interference refuses to quit despite every other fix.
Pros: It removes the interference problem at the source. Wired play also gives the lowest possible latency.
Cons: A cable can reduce the freedom you bought wireless for. Not every mouse ships with a receiver extender puck.
Step 12: Test, Verify, and Lock In Your Fix
Do not stop at the first improvement. Confirm the fix holds under real use. Open a fast-paced game or a cursor test website. Move the mouse quickly across the screen. Watch for any jump, skip, or freeze.
Run a USB 3.0 transfer in the background, like copying files to an external drive, to stress the band. If the cursor stays smooth during heavy USB 3.0 activity, your fix works.
Once you find the winning setup, lock it in. Tape down the extension cable. Label the good port. Note which hub position works. This way, you never lose the fix when you rearrange your desk later.
Pros: It guarantees your fix survives real gaming loads. It prevents repeat troubleshooting down the road.
Cons: Stress testing takes a few extra minutes. You may need to retest if you change your desk layout.
Frequently Asked Questions
Why does my wireless mouse only lag when my external drive is plugged in?
Your external drive likely uses USB 3.0. When it runs, it leaks broadband noise across the 2.4 GHz band, the same band your mouse uses. Intel found this noise raises the floor by nearly 20 dB. Move your receiver away from the drive, or plug the dongle into a USB 2.0 port to fix it.
Will a USB 2.0 port really stop the stuttering?
In most cases, yes. USB 2.0 ports emit very little noise in the 2.4 GHz band. Their signaling runs at a lower frequency that does not overlap your mouse signal. Simply moving the dongle from a blue USB 3.0 port to a black USB 2.0 port fixes the stutter for many users instantly.
How far should I move my receiver from the USB 3.0 hub?
Aim for at least 12 inches of separation. More distance means less noise. Intel testing showed that moving the dongle away with an extension cable removed all lag at 3 and 5 feet. Even one foot helps a lot, so use a short cable to gain that gap.
Does wrapping foil around my cable actually help?
It can. The connector area leaks the most noise, and foil acts as a quick shield. Wrap it near the cable-to-port joint, but never let foil touch the metal pins. This is a temporary fix. A proper shielded cable or grounded hub gives a cleaner, safer long-term result.
Is this stutter a sign that my mouse is broken?
No. This is a known hardware interference issue, not a defect. Your mouse works fine. The USB 3.0 noise simply drowns its signal. Once you add distance, switch ports, or improve shielding, the same mouse runs smoothly again with no replacement needed.
Can a wired connection fully solve the problem?
Yes. A wired link ignores 2.4 GHz radio noise completely. Plug in your mouse’s charging cable, and the interference disappears. Many gaming mice also offer a receiver extender puck you place near your hand, which keeps the signal far from the hub and close to the mouse.
Hi, I’m Minnie Cole, the creator of The Output Lab — a space where I share my passion for all things tech. I spend my days exploring the latest gadgets, devices, and electronics on Amazon, putting them through real-world testing so you don’t have to.