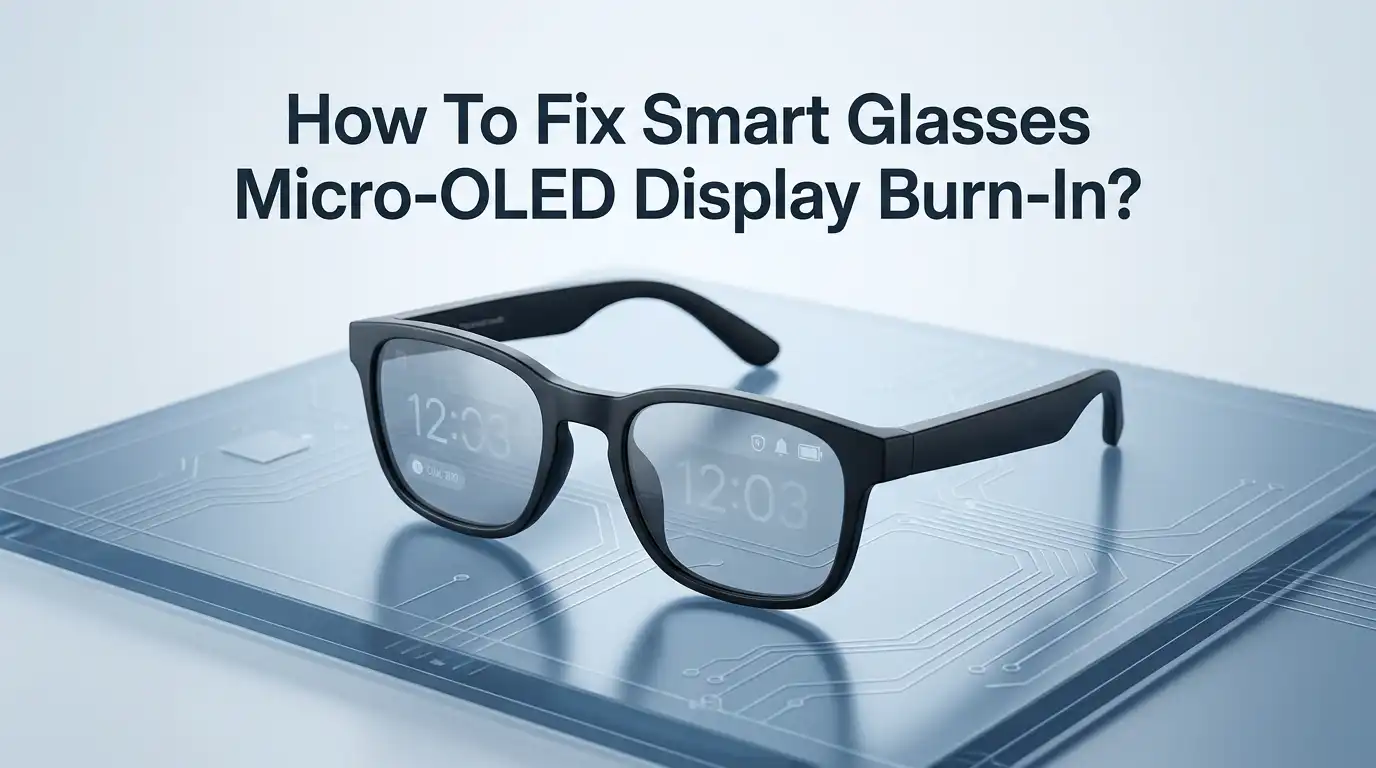
How To Fix Smart Glasses Micro-OLED Display Burn-In?
Smart glasses bring movies, work screens, and games right in front of your eyes. But after months of heavy use, you might notice a faint ghost image stuck on the display. That stubborn shadow is called Micro-OLED burn-in, and it can ruin your viewing experience fast.
The good news is that not every mark is permanent. Many cases are just image retention that you can clear with the right steps. Some need software tools, others need habit changes, and a few need warranty support.
This guide walks you through every fix that actually works for smart glasses like Xreal One, Viture, Rokid, and Apple Vision Pro. You will learn how to spot the problem, treat it, and stop it from coming back. Let us get started.
Key Takeaways
- Image retention is temporary, but burn-in is permanent. A ghost image that fades within minutes is retention. A shadow that stays for hours or days is true burn-in caused by uneven pixel wear.
- Lower brightness saves your display. Running your Micro-OLED panels at 50 percent or less can double their usable lifespan and slow down pixel degradation.
- Static UI elements are the main enemy. Taskbars, app docks, status icons, and HUDs cause most burn-in cases because they stay in the same spot for hours.
- Built-in pixel refresh tools help a lot. Many smart glasses companion apps include refresh cycles that even out pixel wear. Run them every few weeks.
- You cannot reverse permanent burn-in at home. Once organic compounds inside the pixels degrade, no software trick brings them back. Only a panel swap fixes it.
- Warranty often covers early burn-in. Brands like Xreal, Viture, and Apple may replace displays if burn-in shows up within the coverage window, so file a claim early.
What Micro-OLED Burn-In Actually Looks Like
Burn-in on smart glasses shows up as a faint outline of something you watched or used often. You might see a YouTube logo, a Windows taskbar, or a game crosshair hovering on every new screen.
The marks often look pinkish, greenish, or slightly darker than the rest of the display. They are easiest to spot on solid gray or white backgrounds. Move your head and the ghost moves with the display, not with your eyes. That is how you confirm it lives inside the panel.
On Micro-OLED, burn-in develops faster than on regular OLED TVs because the pixels sit on a silicon backplane and run at very high brightness inside a tiny area. Heat builds up quickly and accelerates the wear.
How To Tell Burn-In Apart From Image Retention
Many users panic when they spot a ghost image, but most of those cases are just image retention. Retention fades on its own once the pixels cool down. True burn-in does not.
Run this simple test. Open a plain white image on your smart glasses for two minutes, then switch to a solid gray screen. If the ghost disappears within ten minutes, you are dealing with retention. If it stays for hours, it is real burn-in.
Image retention comes from short term heat buildup, while burn-in comes from long term chemical degradation of the organic pixel layer. Catching the difference early matters, because retention is fully reversible with rest and care, but burn-in needs stronger steps and sometimes a hardware swap.
Step One: Run The Built-In Pixel Refresher
Most modern smart glasses ship with hidden pixel maintenance tools. Xreal, Viture, and Rokid all include them inside the companion app or the device settings.
To run it, plug your glasses into a charger, open the app, and look for Display Care, Pixel Refresh, or Panel Maintenance. Start the cycle and leave the glasses untouched for about an hour. The system will flash patterns that even out the pixel wear.
Pros: It is free, safe, and built for your exact panel. It often clears mild retention completely and reduces the visibility of early burn-in.
Cons: It cannot undo deep burn-in. Running it too often (more than once a month) may shorten the panel lifespan because each cycle compensates by dimming healthy pixels slightly.
Step Two: Use A Pixel Exercise Video
If your glasses do not have a built-in refresher, you can use a pixel exercise video from YouTube. These videos cycle through red, green, blue, white, and black at full screen for several hours.
Search for “OLED pixel refresher 12 hours” or “burn-in fix video” and cast it to your smart glasses. Set the brightness to around 70 percent and let it run while you sleep. The constant color cycling forces every pixel to work equally, which evens out wear over time.
Pros: Works on any Micro-OLED device, costs nothing, and often reduces ghost images by half after one or two sessions.
Cons: Long playback adds general wear to the panel. Never run pixel videos at full brightness, since the extra heat can make burn-in worse instead of better.
Step Three: Lower Your Display Brightness
Brightness is the single biggest factor in Micro-OLED burn-in. The hotter the pixels run, the faster the organic material breaks down. Cutting brightness in half can roughly double the time it takes for burn-in to appear.
Open your smart glasses settings and drop the brightness to level two or three out of five. Most users report that this level still looks bright and clear indoors, especially with the magnetic light blockers attached.
Pros: Instantly slows pixel degradation, reduces eye strain, and extends battery life on the host device.
Cons: You lose some visual punch in bright rooms, and HDR content looks less impressive. Outdoor use becomes harder unless you add tinted shades. Still, the tradeoff is worth it for long term display health.
Step Four: Hide Static Interface Elements
Static elements are the number one cause of burn-in. Things like a Windows taskbar, a macOS dock, a phone status bar, or a game HUD sit in the same pixels for hours every day.
On Windows, turn on auto-hide taskbar. On Mac, set the dock to hide automatically. On Android phones connected to your glasses, enable immersive mode or full screen apps. In games, lower the HUD opacity or switch on minimal interface mode if the game supports it.
Pros: Removes the main trigger for burn-in without changing how you use your glasses. Works on every brand and model.
Cons: Hidden menus can feel less convenient, and some apps do not allow you to remove their interface. You may need to retrain your muscle memory for a few days.
Step Five: Activate Pixel Shift And Screen Savers
Pixel shift moves the entire image by one or two pixels every few minutes. Your eyes never notice the shift, but it spreads the wear across more pixels and prevents any single spot from burning in.
Check your smart glasses settings under Display, Screen Care, or Eye Comfort. Toggle on Pixel Shift, Screen Mover, or Logo Dimmer if your model offers them. Also set a screen saver or sleep timer to kick in after two or three minutes of no input.
Pros: Runs in the background without any effort from you. It is one of the most effective long term protections available.
Cons: Not every smart glasses model includes this feature yet. On low resolution panels, very sharp users might spot the slight movement during text reading.
Step Six: Take Regular Viewing Breaks
Heat is the silent killer of Micro-OLED pixels. When you wear your glasses for four or five hours straight, the panels stay hot the whole time and degrade much faster than they should.
Follow a simple 45 by 10 rule. Watch or work for 45 minutes, then take off the glasses for 10 minutes. Let the panels cool fully before putting them back on. This also helps your eyes recover and reduces headaches.
Pros: Costs nothing, protects both your display and your vision, and improves long term comfort. Many users report fewer eye strain symptoms within a week.
Cons: Breaks can interrupt movies or long work sessions. You need self discipline or a phone timer to stick with the schedule consistently.
Step Seven: Vary Your Content And Apps
Watching the same streaming service or playing the same game every day burns the same UI elements into your panels. Mixing up your content spreads the wear naturally across many pixel regions.
Switch between landscape video, portrait reading apps, web browsing, and games during a single session. Avoid leaving paused video on screen, because the play button and progress bar will etch themselves in within hours.
Pros: Adds variety to your day, keeps the panel healthier, and often makes the smart glasses feel more useful overall.
Cons: Hard to do if you bought the glasses for one specific purpose like coding or watching a single show. Requires conscious habit changes from heavy users.
Step Eight: Keep Your Firmware Updated
Smart glasses makers push firmware updates that quietly improve burn-in protection. New algorithms balance pixel brightness, smarter heat sensors throttle the display, and better refresh cycles run automatically in the background.
Open your companion app once a week and check for updates. Brands like Xreal, Viture, Rokid, and RayNeo have all released firmware patches that specifically reduce burn-in risk on their Micro-OLED panels.
Pros: Updates are free, take only a few minutes, and often add new features besides burn-in protection. Some patches have measurably extended panel lifespan in independent tests.
Cons: Rare updates can introduce bugs or change settings you liked. Always read the update notes before installing, and avoid running updates while traveling in case something needs a rollback.
Step Nine: Try The Compensation Cycle Trick
If a faint ghost remains after pixel refresh, you can try a compensation cycle. Display the inverse image of whatever caused the burn-in. For example, if a white taskbar burned in at the bottom, show a solid black bar in the same spot on a white background for an hour.
This forces the surrounding healthy pixels to age slightly, which makes the burned area blend in better. It does not heal the damage, but it hides it from view.
Pros: Can rescue glasses that look unusable, and works without any special tools. Some users report 70 to 80 percent improvement in visible ghosting.
Cons: You are adding wear to healthy pixels, which shortens overall panel life. Only use this trick when burn-in is already severe and you have no warranty option left.
Step Ten: Check Your Warranty And Request A Replacement
If burn-in appears within the warranty window, the manufacturer should repair or replace your display at no cost. Most smart glasses brands offer a one year limited warranty, and some include extended plans that cover panel defects for two years.
Take clear photos of the ghost image against a gray background. Note when you first saw it and how often you use the glasses. Contact support through the official app or website, not third party resellers. Be polite but firm, and ask specifically for a panel replacement.
Pros: A new panel solves the problem completely. Many users get free replacements even on borderline cases when they document well.
Cons: Shipping and turnaround can take two to four weeks. Some warranties exclude burn-in as normal wear, so read the fine print first.
Step Eleven: Consider Professional Repair Or Panel Swap
If your warranty has expired, a few specialist repair shops can swap the Micro-OLED panels inside smart glasses. The cost usually runs between 150 and 400 dollars depending on the model.
Look for shops that specialize in AR or VR headset repair, not general phone repair stores. Ask if they use original manufacturer panels or aftermarket ones. Original panels match the color and brightness perfectly, while cheap replacements may look uneven.
Pros: Restores your glasses to factory condition for far less than buying a new pair. Good repair shops finish the job in three to five business days.
Cons: Hard to find skilled technicians outside major cities. A bad repair can damage the lenses, electronics, or waveguide layer permanently, so check reviews carefully.
How To Prevent Burn-In From Coming Back
Once you have fixed or hidden the burn-in, build new habits to stop it from returning. Keep brightness low, hide static elements, take breaks, and run pixel refresh once a month. These four habits cover about 90 percent of the risk.
Store your glasses in their case when not in use, since accidental wake ups in a bright bag can still age the pixels. Avoid leaving them paused on a static screen while you step away to answer the door or grab coffee.
If you mostly use the glasses for work, consider a dark theme everywhere. Dark backgrounds mean fewer lit pixels, which means less heat and slower wear across the entire panel.
Frequently Asked Questions
How long does it take for Micro-OLED burn-in to appear?
With average daily use of two to three hours at medium brightness, burn-in usually takes 12 to 24 months to become visible. Heavy use at full brightness with static content can cause it in as little as three to six months.
Can I fix Micro-OLED burn-in at home for free?
Yes, for mild cases. Run the built-in pixel refresher, play a pixel exercise video overnight, and lower your brightness. These three free steps clear most early stage ghost images within a week.
Does turning off the glasses overnight help?
Yes. Letting the panels rest for eight hours allows the pixels to recover from short term retention. It also prevents accidental burn-in from screen savers or paused video left running by mistake.
Is Micro-OLED burn-in covered under warranty?
It depends on the brand. Apple, Xreal, and Viture cover it case by case during the first year if it is clearly a defect. Always document the issue with photos and contact support quickly to improve your chances.
Will dark mode prevent burn-in completely?
Dark mode reduces the risk but does not eliminate it. White text and bright icons on a dark background still wear those specific pixels faster. Combine dark mode with low brightness and hidden taskbars for the best protection.
Hi, I’m Minnie Cole, the creator of The Output Lab — a space where I share my passion for all things tech. I spend my days exploring the latest gadgets, devices, and electronics on Amazon, putting them through real-world testing so you don’t have to.