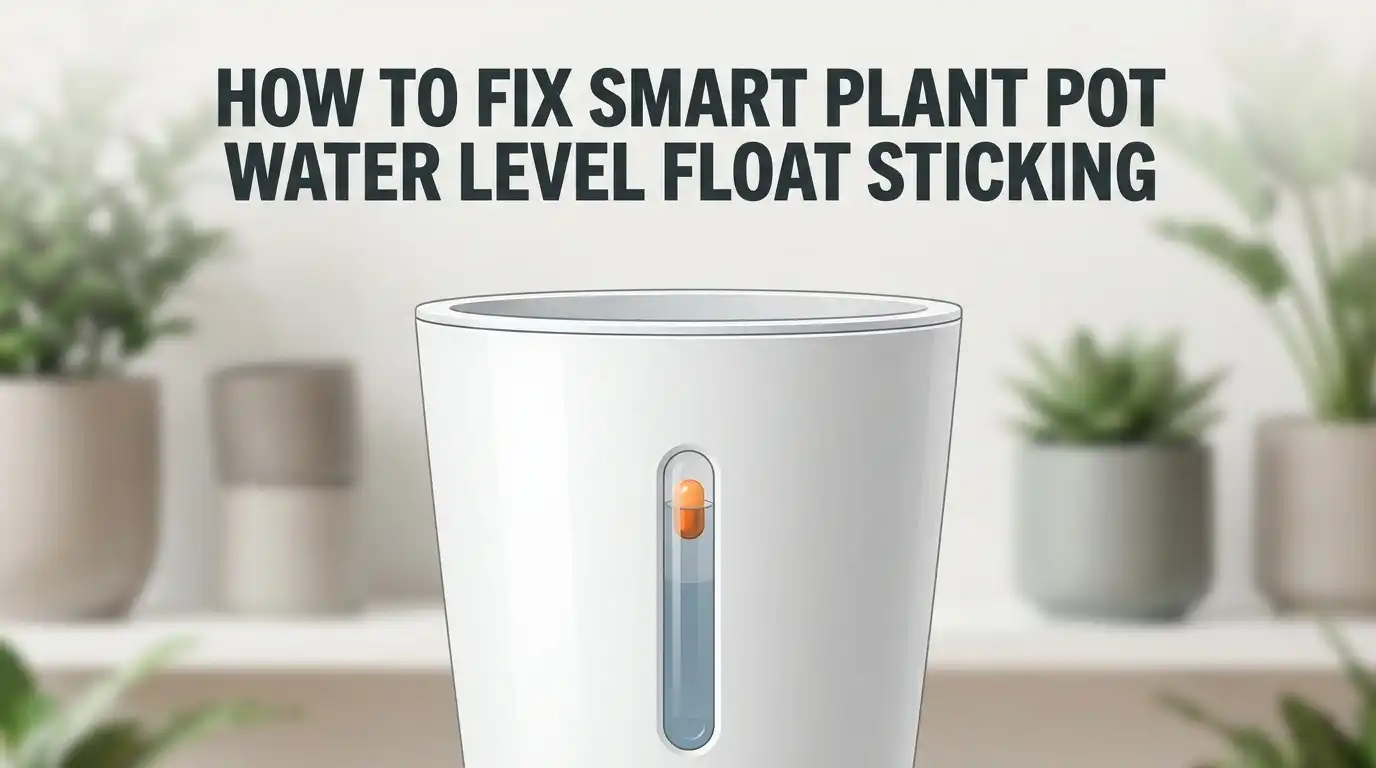
How To Fix Smart Plant Pot Water Level Float Sticking
Does your smart plant pot show a water level that never changes? This is a common problem. It usually means the water level float is stuck.
Smart plant pots make life easier. They use a water reservoir and capillary action to feed your plants. A small float rod tells you when to refill the water.
But sometimes, this float gets trapped. It can get stuck in the bottom sections of the reservoir. When this happens, your smart pot cannot give you an accurate reading.
In a Nutshell
- Open the float chamber first. You may need to apply gentle force to access the stuck part. This is the main fix for a jammed float.
- Drain the reservoir completely. Remove all old water before you touch the float mechanism. This clears debris that causes sticking.
- Reassemble the float with care. Improper placement is a top mistake people make. Make sure it sits straight before closing the unit.
- Add a rubber tube as a barrier. Insert a small rubber vacuum tube into the bottom elbow. This stops the float from getting trapped again in the future.
- Recalibrate your sensor through the app. Go to the three dots, select your plant name, then find settings. Tap the water sensor option to reset it.
- Perform regular checks. Consistent maintenance prevents most sticking issues from happening. A quick look every few weeks keeps your pot happy.
Follow these steps and your indicator should work correctly again soon.
Understanding How Smart Plant Pot Water Level Floats Work
A smart plant pot float works like a simple lever system inside your planter’s water reservoir. The float sits on top of the water and rises or falls as the water level changes. This movement triggers a sensor that sends information to your app about how much water your plant has available.
The float mechanism typically connects to a rod or arm that moves up and down within a chamber. As water fills the reservoir, the float rises. When water gets used by the plant, the float drops lower. Your app reads these position changes and tells you the current water level through percentage markers like full, 80%, or low.
Inside the reservoir sits a small elbow pipe at the bottom. This pipe allows water to travel upward through capillary action to reach your plant’s roots. The float chamber keeps the float stable and prevents it from tipping sideways.
Most smart pots display water levels as simple indicators. You might see a full tank icon, a half tank, or empty warnings. These readings help you know when to refill without guessing.
The float itself is usually made from lightweight plastic or foam material. This keeps it buoyant so it floats properly on water. The chamber walls guide the float’s movement up and down smoothly.
Understanding this basic system helps you troubleshoot problems faster. When your float gets stuck, you know exactly which part needs attention. Regular checks of the float chamber prevent most sticking issues before they start. A clean, properly functioning float gives you accurate water readings every time.
Signs Your Water Level Float Is Sticking
A stuck water level float shows clear warning signs. Your smart pot’s display might freeze on the same reading for days, even after you water the plant or the soil dries out. The indicator refuses to move up or down like it normally should.
You may notice the app shows “full” constantly. This happens even when you know the reservoir is empty or partially used. The sensor simply stops responding to actual water changes inside the pot.
Physical indicators matter too. When you gently tilt or shake the planter, you hear no sloshing sound from the float mechanism. A healthy float moves freely and creates subtle movement sounds. Silence suggests the float is wedged in place at the bottom of the chamber.
Check the reservoir opening carefully. If you peer inside and see the float sitting motionless at the lowest point, it has likely snagged on the elbow pipe. The float should rise and fall smoothly with water level changes.
Your plant’s watering schedule becomes confusing. You can’t trust the app’s moisture readings anymore, so you second guess when to refill. This uncertainty leads to either overwatering or underwatering your plant.
Temperature changes can worsen the problem. Plastic floats expand or contract slightly with heat and cold. A float that fits snugly in warm conditions may stick when temperatures drop.
The app may also show error messages. Some smart pots display warning alerts when sensors malfunction. These notifications confirm something is blocking the float’s normal operation.
These signs tell you action is needed soon. A stuck float prevents your smart pot from doing its job properly.
Step-by-Step: Recalibrating the Water Sensor via App
Your app holds the key to fixing sensor problems after you’ve cleaned the float mechanism. This step ensures your smart pot reads water levels correctly again.
Start by opening your app. Look for the three dots menu, usually found in the top corner or bottom of your screen. Tap it to reveal more options. Find your plant’s name in the list and select it.
Next, locate the settings option. This menu contains all your sensor controls. You should see a water sensor section or calibration option. Tap on it to access the adjustment tools.
The calibration process is straightforward. Your app will guide you through simple steps. It may ask you to fill the reservoir completely to the top. Wait a few seconds for the sensor to register the full level. The app will confirm when it detects this reading.
Empty the reservoir next. Remove all water slowly and carefully. Let the sensor register the empty state. The app should show this change within seconds. This teaches your system the difference between full and empty.
Test the sensor response. Fill your reservoir halfway and check if the app shows approximately 50 percent. Adjust as needed if readings seem off. Repeat this test at different water levels to ensure accuracy.
Save your calibration settings. Most apps have a confirm or save button at the end. Tap it to lock in your new calibration data. Your smart pot now has accurate sensor readings.
Return to normal watering. Your app should now display correct water levels. Monitor it for a few days to confirm the fix worked. Proper calibration prevents future float sticking issues.
Step-by-Step: Disassembling, Draining, and Reassembling the Float Mechanism
Start by unplugging your smart plant pot from any power source. This keeps you safe while working with water and electronics. Locate the water reservoir section at the base of your planter.
Find the access point or cap that opens the float chamber. Some models require gentle twisting. Others need you to apply steady pressure. Take your time here. Forcing the mechanism too hard can damage internal parts.
Once you open the chamber, you’ll see the float rod inside. Carefully remove all water from the reservoir by tilting the pot over a sink or bucket. Let gravity do the work. Don’t rush this step because water remaining inside can cause future sticking.
Examine the float rod closely. Look for mineral deposits, algae buildup, or debris stuck around it. These substances trap the float in place. Gently slide the float up and down along its track to identify exactly where resistance occurs.
Clean the float rod with soft cloth or a soft brush. Use distilled water if possible. Tap water contains minerals that contribute to sticking problems. Work slowly along the entire length of the rod.
Inspect the chamber walls where the float moves. Wipe these surfaces clean too. Any residue here prevents smooth float movement.
Before reassembling, insert a rubber vacuum tube into the bottom elbow pipe. This prevents the float from getting trapped again during normal operation. The tube acts as a spacer, keeping the float elevated.
Carefully reinsert the float rod into its chamber. Make sure it slides freely from top to bottom. Test the movement several times before closing the access point.
Seal the chamber securely. Refill your reservoir slowly while watching for proper float response.
Preventing Future Sticking with Rubber Tubing and Barriers
Preventing future sticking requires simple barriers inside your reservoir. The most effective method uses rubber tubing placed strategically where your float moves.
Start by measuring the bottom elbow pipe where your float gets trapped. This is the critical area where sticking happens most often. A rubber vacuum tube inserted here acts as a protective shield.
Cut the rubber tubing to fit snugly inside the bottom elbow section. The tube should not block water flow but should prevent the float from dropping too far down. This physical barrier stops your float from getting wedged in tight spaces.
When you reassemble your float mechanism, insert this rubber tube before putting the float rod back in place. The tube creates a smoother path for the float to move up and down. Your float slides past the tube without getting caught on rough edges or corners.
Regular maintenance also prevents future problems. Check your reservoir every two weeks for debris or algae buildup. Clean the float chamber walls gently with a soft brush. Remove any mineral deposits that might cause friction.
Water quality matters too. Hard water leaves mineral deposits that make floats sticky over time. If your water is mineral rich, consider using filtered water in your reservoir.
Test your float movement monthly by gently tilting your planter. You should hear water sloshing inside. If the sound stops, your float may be sticking again.
Keep your app sensor calibrated after each cleaning session. This catches problems early before they become serious. A well maintained float system gives you accurate watering information and keeps your plants healthy long term.
Common Mistakes to Avoid When Fixing a Stuck Float
When fixing a stuck float, many people make mistakes that create bigger problems. The most common error is reassembling the float incorrectly after cleaning. You must align the rod perfectly in its chamber. If it sits at an angle, it will stick again immediately.
Another frequent mistake is skipping the preventative barrier step. After you drain and clean your float mechanism, many users simply put everything back without adding protection. This guarantees the float will get trapped again in a few weeks. The rubber tubing barrier is not optional if you want lasting results.
People also neglect to recalibrate their water sensor after maintenance work. Your app won’t show accurate water levels if you skip this step. The sensor needs to relearn your reservoir’s new conditions after you’ve cleaned it.
Rushing through the draining process causes problems too. If you drain too quickly, you might miss debris or mineral buildup that causes sticking. Slow, careful draining helps you spot these issues before reassembly.
Many users forget to test the float movement before sealing everything up. Gently tilt your planter and watch the float rise and fall smoothly. If it moves stiffly, something is wrong. Catch it now rather than dealing with sticking again next month.
Finally, people ignore water quality concerns. Hard water creates mineral deposits that trap your float. Regular maintenance checks catch these problems early.
The key is patience and attention to detail. Take time with each step. Don’t rush reassembly. Verify everything works before you close the chamber. These practices keep your float functioning properly for months.
Troubleshooting Persistent Float or Sensor Issues
When your smart plant pot’s float gets stuck, the problem usually stems from mineral buildup, debris, or improper reassembly. Understanding what causes persistent issues helps you fix them correctly the first time.
Mineral deposits are the main culprit behind stubborn floats. Hard water leaves calcium and magnesium residue inside the chamber. This buildup creates friction that prevents smooth movement. You’ll notice the float won’t rise or fall even when water levels change. The sensor then sends incorrect readings to your app.
Debris accumulation also traps floats in place. Soil particles, algae, or organic matter can settle in the bottom chamber. These particles wedge between the float rod and chamber walls. The float becomes immobilized despite the water moving around it.
Improper reassembly after cleaning causes recurring sticking. If you don’t align the float rod perfectly during reassembly, it binds against the chamber walls. Even small misalignments create enough friction to jam the mechanism.
To address persistent issues, start by checking your water quality. If you use tap water with high mineral content, consider using filtered water instead. This reduces future buildup significantly.
Next, perform a deeper cleaning if basic maintenance didn’t help. You may need to soak the float chamber components in a mild vinegar solution to dissolve mineral deposits. This breaks down stubborn residue that regular rinsing misses.
After cleaning, test the float movement before sealing everything. Gently move the float up and down through its full range. It should move smoothly without resistance or grinding sounds.
Finally, recalibrate your water sensor through your app after completing these steps. This ensures accurate readings once your float works freely again.
Routine Maintenance Tips for Long-Term Reliability
Routine maintenance keeps your smart plant pot working smoothly for years to come. The key is establishing simple habits that prevent problems before they start.
Check your float movement monthly by gently tilting your planter side to side. This catches sticking issues early when they’re easiest to fix. Listen for a soft clicking sound as the float rod moves freely inside its chamber.
Clean your reservoir every two to three months depending on your water quality. Hard water creates mineral buildup faster than soft water. Empty the entire system completely before wiping down all internal surfaces with a soft cloth.
Inspect the bottom elbow pipe where your float typically gets trapped. This area accumulates the most debris and mineral deposits. A quick visual check takes only seconds but saves you from major headaches later.
Test your app sensor calibration after each cleaning session. Open your settings and verify the water level readings match what you see physically. Recalibrate if numbers don’t align properly.
Replace your water every four to six weeks to minimize mineral accumulation. Fresh water reduces the likelihood of deposits forming on your float mechanism. This simple step makes a huge difference in long term performance.
Monitor plant health alongside your float function. Yellowing leaves or slow growth sometimes signal sensor issues before you notice float sticking. Catching these signs early helps you address problems quickly.
Keep your planter in a stable location away from direct sunlight. Temperature fluctuations and UV exposure can warp plastic components over time. A consistent environment extends the lifespan of your entire system.
Document your maintenance schedule in your phone’s calendar. Regular reminders ensure you never skip important cleaning sessions. Consistency prevents most sticking problems from ever occurring.
Final Thoughts
A stuck float does not mean your smart plant pot is broken. It simply needs some care and attention.
Most sticking issues come from mineral buildup or debris in the reservoir. A little cleaning often solves the whole problem.
The steps in this guide are simple to follow. You do not need special tools or technical skills to fix a sticking float.
Regular maintenance saves you time and stress. It also helps your smart plant pot last much longer.
Think about your float function the same way you think about watering your plants. Both need consistent attention to work well.
Small habits make a big difference here. Checking your float once a month takes only a few minutes.
Cleaning your reservoir every few months keeps water flowing smoothly. This prevents most sticking problems before they start.
Recalibrating your sensor after cleaning is just as important as the cleaning itself. Skip this step and you may see wrong readings again.
Your plants depend on accurate water levels to thrive. A working float means your plant gets water exactly when it needs it.
This benefits both underwatered and overwatered plants. Proper function protects your plant’s roots and overall health.
Remember that patience matters most during this process. Rushing through repairs often causes new problems to appear.
Take your time with each step. Careful work now means fewer headaches later.
Your smart plant pot is an investment in easier plant care. Keeping the float working properly protects that investment.
With the tips shared here, you now have everything you need. Fix the sticking float today and enjoy reliable, worry free watering for your plants.
Frequently Asked Questions
Why does my float stick in the first place?
Float sticking happens when mineral deposits build up inside your reservoir. Hard water leaves crusty buildup on the float rod. Debris like dirt or plant material also traps the float in place. Sometimes the float gets wedged at the bottom elbow pipe where it connects to your water system.
Can I fix a stuck float without opening the planter?
Yes, you can try a gentle approach first. Tilt your planter slowly side to side to loosen the float. Let it rock gently for a few minutes. If this doesn’t work, you’ll need to open the float mechanism to drain and clean it properly.
What’s the best way to prevent sticking from happening again?
Insert a rubber vacuum tube into the bottom elbow pipe. This barrier stops your float from getting trapped there. Clean your reservoir every two to three months. Replace your water every four to six weeks to reduce mineral buildup. These simple habits keep your float moving freely.
Should I recalibrate my sensor after fixing the float?
Yes, absolutely. After you reassemble everything and seal it back up, open your app and recalibrate. Go to the three dots menu, select your plant name, then settings, then water sensor. This ensures your app reads the correct water level. Recalibration is just as important as the cleaning itself.
How do I know if my float is actually broken versus just stuck?
A stuck float moves after you clean it and drain the reservoir. A broken float won’t move at all, even after cleaning. Test the movement gently before you seal everything back up. If it moves freely after draining, sticking was your only problem.

Hi, I’m Minnie Cole, the creator of The Output Lab — a space where I share my passion for all things tech. I spend my days exploring the latest gadgets, devices, and electronics on Amazon, putting them through real-world testing so you don’t have to.