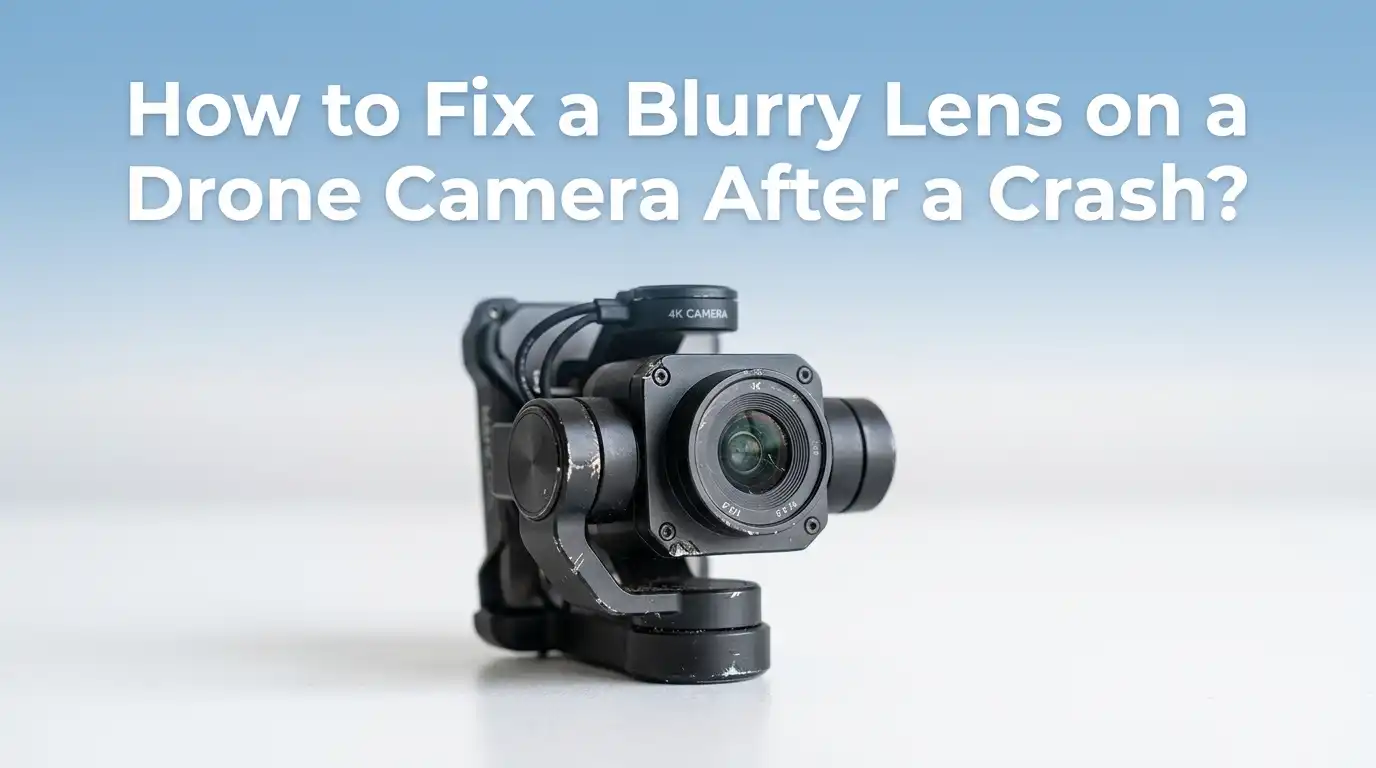
How to Fix a Blurry Lens on a Drone Camera After a Crash?
A crash can turn your favorite drone into a frustrating piece of equipment overnight. One moment, your aerial shots look crisp and cinematic.
The next, every frame looks like it was filmed through wax paper. A blurry lens after a crash is one of the most common issues drone pilots face, and the good news is that you can often fix it at home.
This guide walks you through every practical step, from quick cleaning tricks to deeper repairs, so you can get your drone back in the sky with sharp footage.
In a Nutshell
- Start with the simplest fix first. Most blurriness after a crash comes from smudges, dust, or a shifted protective film. A microfiber cloth and a steady hand often solve the problem in seconds.
- Check the lens housing for damage. A hard impact can loosen the lens barrel or push it slightly out of focus. Tightening screws or repositioning the lens can restore clarity.
- Look for internal fog or moisture. Crashes near grass, water, or wet surfaces can let humidity enter the lens. Silica gel packs and gentle warmth usually pull the moisture out.
- Recalibrate the gimbal and IMU. Even if the lens looks fine, a misaligned gimbal can cause shaky, blurry footage that mimics a damaged lens.
- Know when to stop DIY. If the inner glass is cracked or the sensor is damaged, professional repair is safer than risking further harm.
- Prevent future blurriness. Use ND filters, lens covers, and proper storage to keep your camera sharp for the long run.
Inspect the Lens Carefully Before Touching Anything
The first step is a careful visual check. Hold your drone in good lighting and look at the lens from several angles. You want to spot scratches, cracks, smudges, or a shifted protective film before you start cleaning or repairing.
Use a small flashlight to shine across the glass surface. This trick reveals tiny scratches and dust that normal lighting hides. Take a few test photos and zoom in to see where the blur appears most.
If the blur is in the center of every shot, the lens itself is the likely cause. If the blur shifts or appears only in motion, the gimbal or stabilization system may be the real problem.
Pros: Costs nothing and prevents you from making the damage worse. Cons: Small internal cracks can be hard to see without disassembly.
Clean the Lens With the Right Tools
A surprising number of blurry lens issues are simply dirty lenses. After a crash, dust, grass, oil from fingerprints, or tiny debris can stick to the glass. The fix is gentle cleaning with the proper tools.
Start with a rubber air blower to remove loose particles. Never blow with your mouth because moisture and saliva can settle on the lens. Next, use a clean microfiber cloth to wipe in slow, circular motions. For stubborn smudges, add a drop of lens cleaning solution or distilled water to the cloth.
Avoid paper towels, tissues, or your shirt. These materials feel soft but contain rough fibers that scratch lens coatings. Pros: Quick, cheap, and safe. Cons: Will not fix scratches or internal damage.
Check and Replace the Protective Lens Film
Many drones ship with a thin protective film over the camera lens. After a crash, this film can lift, wrinkle, or trap dust underneath. The result looks exactly like a foggy or blurry lens, but the actual glass is fine.
Look closely at the edges of the lens. If you see a peeling corner or a bubble, gently lift the film with your fingernail or a soft plastic tool. Once removed, clean the lens and decide whether to replace the film or fly without it.
Many pilots fly without the film for sharper images, but a fresh film adds scratch protection. Pros: Instant clarity and a very easy fix. Cons: Without film, the lens becomes more vulnerable to future scratches.
Remove Scratches From the Outer Lens
Scratches are trickier than smudges. Light scratches on the outer protective glass can sometimes be reduced, but deep scratches usually need a lens replacement. Try the mild approach first.
Apply a tiny dab of non gel toothpaste or a polishing compound to a microfiber cloth. Rub the scratch in small circles for one or two minutes with light pressure. Wipe away the residue with a slightly damp cloth, then dry it.
This method works best on very shallow scratches. Deeper grooves break light and cause permanent blur. Pros: Cheap home fix that can salvage a lens. Cons: Aggressive rubbing damages the anti reflective coating, which can make blurriness worse if you overdo it.
Fix Internal Fog and Moisture Inside the Lens
If your drone crashed in wet grass, near water, or in humid weather, moisture can sneak into the lens housing. The blur looks like a soft white haze that may shift as the drone warms up.
Power the drone off completely. Place it inside a sealed bag or container with silica gel packets or uncooked rice for at least 24 to 48 hours. Avoid direct heat sources like hair dryers, which can warp plastic parts and damage the sensor.
For stubborn fog, place the drone in a warm, dry room with good airflow. Pros: No disassembly needed and a high success rate. Cons: Takes time, and trapped moisture can sometimes leave water spots on the inner glass.
Realign a Shifted Lens Barrel
A strong crash can push the lens barrel slightly out of position. When this happens, the focus point shifts, and every image looks soft. This is one of the most common hidden causes of post crash blur.
Hold the camera module gently and look at the lens from the side. If the barrel looks tilted, lifted, or recessed, it may need realignment. Some pilots report that gently pressing the lens back toward the housing restores sharpness instantly. Others tighten the small screws around the lens mount.
Work slowly and use a precision screwdriver. Pros: Often fixes blur without buying new parts. Cons: Easy to damage the ribbon cable or sensor if you press too hard.
Recalibrate the Gimbal and IMU
Sometimes the lens is fine, but the gimbal lost its alignment in the crash. A wobbly gimbal causes micro vibrations during flight, which read as blur in your footage. Recalibration is a simple software fix.
Open your drone app and find the gimbal calibration option. Place the drone on a flat, level surface and run the process. Then run the IMU calibration as well. These two steps reset the drone’s sense of balance.
After calibration, fly a short test and check the footage. Pros: Free, fast, and solves many invisible vibration issues. Cons: Will not help if the gimbal motor or ribbon cable is physically damaged.
Inspect the Gimbal Motors and Ribbon Cable
If recalibration does not help, the gimbal hardware may be the problem. A crash can bend a motor shaft or tear the thin ribbon cable that connects the camera to the drone body.
Gently move the gimbal by hand when the drone is off. It should rotate smoothly with no grinding or sticking. Look closely at the ribbon cable for kinks, tears, or burn marks. A damaged cable causes erratic gimbal behavior and blurry footage.
Replacement ribbon cables are widely available for popular drone models. Pros: A relatively cheap part that restores full function. Cons: Requires careful disassembly, and small connectors break easily under untrained hands.
Check the Sensor and Focus Mechanism
Some drones use a fixed focus lens, while higher end models have autofocus motors. A crash can knock these focus systems out of alignment. The result is a permanently soft image, no matter how clean the lens is.
Take a test photo of a high contrast subject like text on a wall. If the image looks soft across the whole frame, the focus mechanism may be stuck. Some apps let you manually adjust focus to confirm whether the motor still responds.
If autofocus does not move at all, the focus motor likely failed. Pros: Diagnosing the issue is straightforward with test shots. Cons: Focus motor repairs usually require professional service.
Update the Firmware
Firmware bugs sometimes cause focus or exposure problems that mimic lens damage. After a crash, your drone may also enter a safety mode that limits camera performance until you reset it.
Open the official app and check for firmware updates. Install any pending updates for the drone, the remote controller, and the battery. After updating, restart the drone and run a short test flight.
This step is easy to overlook, but it has saved many pilots a costly repair. Pros: Free and only takes a few minutes. Cons: Firmware updates can occasionally introduce new bugs, so read recent user reports before installing.
Try a Full Factory Reset
If cleaning, calibration, and firmware updates do not work, a factory reset is the last software step before hardware repair. A reset clears corrupted settings that may be affecting camera performance.
Back up any custom flight settings first. Then use the app to restore the drone to factory defaults. After the reset, calibrate the gimbal, compass, and IMU again before flying.
A factory reset is especially helpful if the crash caused odd app behavior or strange camera settings. Pros: Solves hidden software issues that other steps miss. Cons: You lose your saved preferences and must reconfigure everything from scratch.
Know When to Call a Professional
Sometimes the smart move is to stop and call an expert. If you see a cracked inner lens element, damaged image sensor, or burned electronics, DIY repair can make things worse. Drone repair specialists have the tools and parts to handle delicate work.
Check whether your drone is still under warranty or a care plan. Many manufacturers offer flat rate crash replacements that cost less than buying new parts piece by piece. Independent repair shops also handle most popular drone brands.
Get a written estimate before agreeing to any service. Pros: High success rate and proper testing after repair. Cons: Can be expensive, and shipping times may keep your drone grounded for weeks.
Prevent Future Blurry Lens Problems
Once your drone is flying clearly again, take a few steps to protect the camera going forward. Prevention is far cheaper than repair, and good habits extend the life of your gear.
Always carry a lens cleaning kit in your drone bag. Store the drone with silica gel packets to prevent humidity damage. Use ND filters or a clear lens guard when flying in rough environments. Avoid flying in heavy wind, low light, or near obstacles you cannot clearly see.
Practice safe takeoff and landing on flat surfaces. Pros: Saves money and protects expensive gear. Cons: Requires a small upfront investment in accessories and a bit of extra packing time.
Frequently Asked Questions
Can I fix a cracked drone lens at home?
Small surface scratches sometimes respond to gentle polishing, but a true crack in the glass usually needs a full lens replacement. Cracks break light in unpredictable ways and cause permanent blur. For most pilots, ordering a replacement lens module or sending the drone for service is the safer path.
Why does my drone footage look blurry only when flying?
If your photos look sharp but video looks blurry, the cause is usually gimbal vibration rather than the lens. Recalibrate the gimbal and IMU, check the rubber dampeners around the gimbal, and make sure no debris is touching the camera module during flight.
How long does it take to remove moisture from a drone lens?
Most cases clear up within 24 to 48 hours when you use silica gel packets in a sealed container. Severe moisture may take three to five days. Never use direct heat, as it can damage the sensor and warp plastic parts inside the camera assembly.
Will toothpaste really remove lens scratches?
Toothpaste can reduce very shallow scratches on the outer protective glass. It does not work on deep scratches, and it can strip lens coatings if used too aggressively. Use it sparingly, with light pressure, and only as a last resort before replacing the lens.
Is it worth repairing a drone after a serious crash?
It depends on the model and the damage. For mid range and high end drones, repair is usually cheaper than a full replacement. For older or budget drones, the cost of new parts may exceed the value of the drone itself. Always get an estimate before deciding.
Hi, I’m Minnie Cole, the creator of The Output Lab — a space where I share my passion for all things tech. I spend my days exploring the latest gadgets, devices, and electronics on Amazon, putting them through real-world testing so you don’t have to.