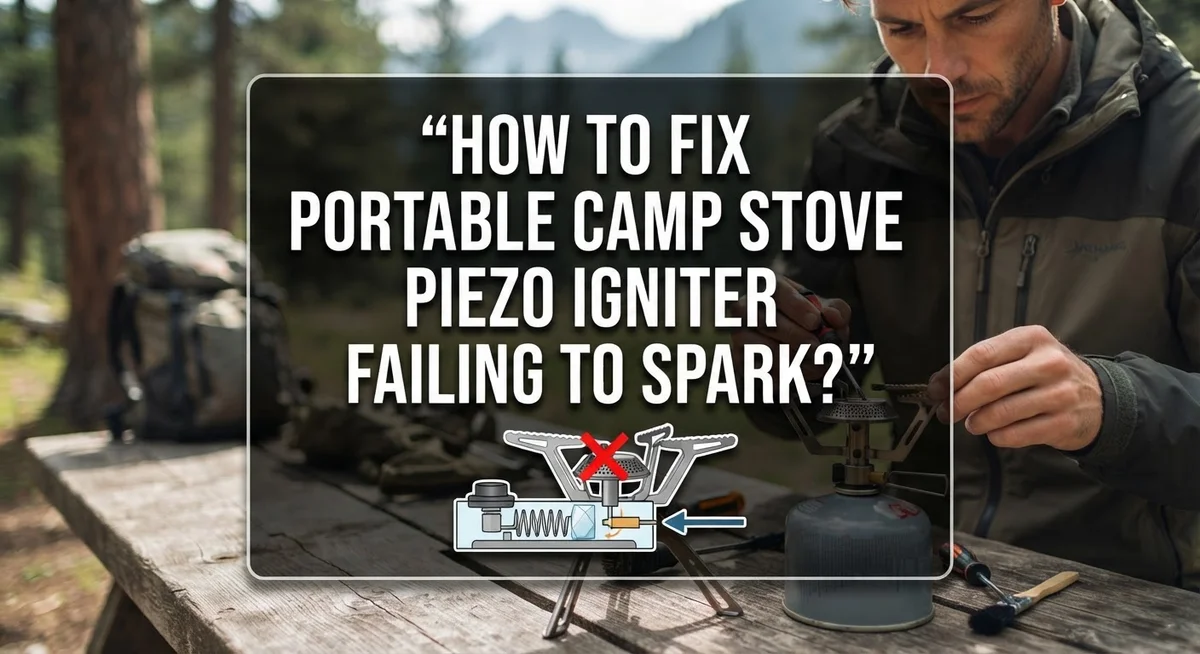
How To Fix Portable Camp Stove Piezo Igniter Failing To Spark?
Picture this. You are camping in a beautiful spot. You try to light your stove for a warm meal. But the piezo igniter just clicks and clicks with no spark.
This problem happens to almost every camper at some point. The good news is that it is usually an easy fix. You do not need to buy a new stove right away.
Most igniter failures come from simple causes. Dirt and moisture often block the igniter tip. Sometimes the wires get loose or damaged. Other times, the gap between the igniter and burner is just not right.
In a Nutshell
- Clean the tip first. Dirt, grease, and food residue often block the spark. A soft brush can clear this buildup in seconds.
- Check the wire connection. A loose or damaged wire is a common reason for spark failure. Make sure it sits snug on the igniter.
- Look at the gap. The igniter tip needs the right distance from the burner head. Too close or too far stops the spark from forming.
- Adjust the tip as needed. Bend it slightly closer if the gap is too wide. Move it back a bit if it sits too near the burner.
- Clear away debris and webs. Spiders and dirt love to hide near the igniter. Removing this junk often solves the problem right away.
- Replace it if all else fails. A cracked or worn piezo element won’t spark no matter what you try. Swapping it out is the final fix.
Understanding How a Piezo Igniter Works
A piezo igniter works through a simple but clever physics principle. When you press the igniter button, you apply pressure to a piezo crystal inside the device. This pressure creates an electrical charge that builds up instantly.
The electrical charge travels down a wire to the igniter tip. This tip sits very close to your stove’s burner head. When the charge reaches the tip, it jumps across a small gap as a spark. This spark ignites the gas flowing from your burner.
The whole process happens in a fraction of a second. You press the button and hear a clicking sound followed by a spark. That clicking noise comes from the piezo crystal striking inside the igniter housing.
The gap between the igniter tip and burner is critical. If the gap is too large, the electrical charge cannot jump across it. The spark dies before reaching the gas. If the gap is too small, the spark may not form at all because the charge has nowhere to travel.
Moisture and debris interfere with this process significantly. Dirt on the igniter tip blocks the spark from forming properly. Water or moisture inside the igniter housing can prevent the electrical charge from building up. Food residue and grease create a barrier that stops the spark from jumping to the burner.
The piezo crystal itself can wear out over time. Repeated pressure from button clicks gradually weakens the crystal’s ability to generate electrical charge. Cracks or damage to the crystal mean it cannot produce enough voltage to create a spark at all.
Understanding these mechanics helps you troubleshoot problems effectively. You now know that spark failure usually comes from gap issues, debris buildup, wire problems, or crystal wear. Each cause has a specific solution that you can tackle yourself with basic tools and cleaning supplies.
Common Causes of Piezo Igniter Failure
Piezo igniters fail for several straightforward reasons. Understanding these causes helps you fix the problem quickly and get back to cooking.
Debris and moisture buildup is the most common culprit. Food particles, grease, and dirt accumulate on the igniter tip over time. Moisture from rain, steam, or humid air also settles around the igniter area. These substances block the electrical spark from forming properly. Spider webs and dust love to collect near the igniter too.
Wire connection issues cause many ignition failures. The wire connecting your piezo element to the igniter tip can loosen from vibration during transport. Wires may also corrode or crack if exposed to moisture. A loose connection breaks the electrical path needed for sparking.
Incorrect gap spacing prevents sparks from jumping to the burner. The distance between your igniter tip and burner head must be precise. If the gap is too wide, the electrical charge cannot reach the burner. If the gap is too narrow, the spark may not form at all. This spacing changes when the igniter tip bends or shifts.
Worn or cracked piezo elements fail after extended use. The piezo crystal weakens from repeated button clicks over months or years. Physical damage from dropping or rough handling can crack the element. Once damaged, the crystal cannot generate sufficient electrical charge.
Gas flow problems sometimes get mistaken for igniter failure. If gas doesn’t reach the burner properly, no flame appears even with a good spark. Check that your fuel valve opens fully and fuel lines aren’t blocked.
These issues often overlap. A stove might have both debris buildup and a loose wire connection. Start by cleaning thoroughly, checking connections, and adjusting the gap. Most failures stem from these three simple problems rather than a defective piezo element.
Step-by-Step: Cleaning the Igniter Tip and Burner Area
Start by turning off your camp stove and letting it cool completely. Safety comes first when working with any cooking appliance.
Grab a soft brush or old toothbrush from your camping kit. Gently brush the igniter tip to remove visible dirt, grease, and food residue. Move the brush in small circular motions around the spark electrode.
Pay special attention to the grooves and crevices where debris likes to hide. Stubborn buildup may require a few extra passes with your brush. Don’t use harsh scrubbing motions that could damage the delicate igniter tip.
Next, inspect the entire burner area around the igniter. Look for spider webs, dust, and any organic material that accumulated during storage or outdoor use. These materials block the spark path and prevent ignition.
Use your brush to clean away any webs or debris you find. Wipe the area with a dry cloth to remove loose particles completely. Make sure nothing blocks the space between the igniter tip and burner head.
Check if any moisture collected near the igniter. Dampness from rain or condensation stops sparks from forming properly. If you find moisture, dry the area thoroughly with a clean cloth and let it air dry for a few minutes.
Examine the burner head itself where the igniter tip sits closest. Small food particles or grease can accumulate here during cooking. Clean this area gently to ensure the spark can reach the gas effectively.
After cleaning, visually inspect the igniter tip for cracks or discoloration. A healthy igniter tip appears smooth and intact. If you see visible damage, the igniter may need replacement.
Finally, reconnect any loose parts and test the stove in a safe location. Many ignition problems disappear after a thorough cleaning. If sparks still don’t appear, move on to checking the wire connections and gap spacing.
Checking and Securing Wire Connections
Wire connections are the silent heroes of your piezo igniter system. Without a solid connection, even a perfect igniter tip cannot produce a spark.
Start by locating the thin wire that runs from your igniter button to the igniter tip itself. This wire carries the electrical charge that creates your spark. Turn off your stove and let it cool completely before touching anything.
Gently trace this wire along its entire path. Look for any spots where the wire might be loose, bent sharply, or disconnected. Check both ends of the wire carefully. One end attaches to the button mechanism, and the other connects to the igniter tip.
If you find a loose connection, you may be able to reseat it by hand. Push the wire firmly back into its connector. Some camp stoves have small clips or terminals that hold the wire in place. Make sure these are tight and secure.
Inspect the wire itself for damage. Look for cracks in the insulation, exposed copper, or areas where the wire appears pinched or crushed. Damaged wires cannot transmit electricity properly, even if they are connected.
Pay special attention to where the wire enters and exits the stove body. These stress points often develop problems. The wire should have a small amount of slack so it does not pull tight when you use the igniter.
If the wire connection looks corroded or dirty, gently clean the contact points with a dry cloth. Corrosion blocks electrical flow and prevents sparks from forming.
After securing all connections, test your igniter in a safe location outdoors. Press the button several times and listen for clicking sounds. You should hear consistent clicks and see small sparks near the burner. If clicking sounds weak or absent, your wire connection issue may need professional attention or wire replacement.
Adjusting the Igniter-to-Burner Gap for a Strong Spark
The gap between your igniter tip and the burner head is critical. This distance determines whether your spark actually reaches the gas flame. Too much space means the spark dies before it jumps. Too little space means the spark never forms properly.
Start by examining the current gap. Look at where the igniter tip sits relative to the burner head. The ideal distance is usually between 2 to 4 millimeters, though this varies by stove model. You want the tip close enough that sparks can jump, but far enough that it doesn’t touch the burner during operation.
If your stove won’t spark at all, the gap is likely your culprit. A gap that’s too wide prevents ignition completely. You’ll hear the click from the piezo element, but no flame appears.
To adjust the gap, you need to bend the igniter tip slightly. Most camp stoves have igniter tips made of metal that you can carefully adjust. Turn off your stove and let it cool. Using gentle pressure, bend the tip closer to the burner if the gap is too wide. Make small adjustments rather than large ones.
If the gap is too narrow, bend the tip slightly away from the burner. This prevents the tip from interfering with gas flow or causing weak sparks.
After each adjustment, test your stove in a safe outdoor location. Click the igniter and watch for sparks. You should see bright blue or white sparks jumping from the tip to the burner.
Be patient with this process. Small adjustments make a big difference. If bending doesn’t work, your piezo element may be damaged internally. Check that the wire connection is still secure after adjusting the tip. A repositioned igniter sometimes shifts the wire slightly.
Troubleshooting: When Cleaning and Adjusting Don’t Work
When cleaning and adjusting don’t restore your spark, you’ve entered deeper troubleshooting territory. The piezo element itself may be failing. This ceramic component inside the igniter button creates the spark through pressure. Over time, repeated use causes wear and cracking.
Start by testing the igniter button with force. Press it firmly several times while listening closely. You should hear a distinct clicking sound with each press. If you hear nothing or only a faint click, the piezo element is likely damaged internally. No amount of cleaning will fix this issue.
Next, inspect the igniter tip under bright light for visible cracks or chips. A cracked ceramic tip cannot generate proper spark energy. Even tiny fractures prevent ignition from working reliably. If you see damage, replacement becomes your only option.
Check whether gas actually reaches the burner when you press the igniter. Light the stove manually using a match or lighter. If gas flows but the piezo won’t spark, the igniter system itself has failed. If gas doesn’t flow, your problem lies elsewhere in the stove’s fuel system.
Moisture trapped inside the igniter button causes problems too. If your stove got wet or you stored it in humid conditions, water may have entered the igniter mechanism. Allow the stove to dry completely in sunshine for several hours. Store it in a dry location afterward to prevent moisture from returning.
Test one more time after drying. Sometimes patience solves the issue. If your stove still won’t spark after thorough drying, cleaning, adjusting, and inspection, the piezo igniter has reached the end of its life. At this point, replacement is the practical solution. Your stove will function normally again with a new igniter installed.
Mistakes to Avoid When Repairing a Piezo Igniter
Fixing a piezo igniter requires care. Many people make mistakes that make their problem worse instead of better.
The biggest mistake is using too much force. When you press the igniter button, use gentle, steady pressure. Pressing hard won’t create a stronger spark. It can actually crack the piezo crystal inside. Once that crystal breaks, your igniter is done for good.
Another common error is ignoring moisture. If your stove gets wet or sits in humid storage, water gets trapped inside the igniter button. This blocks the spark completely. People often assume the igniter is broken when it just needs to dry out. Leave your stove in a warm, dry place for several hours before giving up.
Don’t skip the cleaning step. Many people jump straight to replacing parts when simple cleaning works. Dirt, grease, and food residue coat the igniter tip and block the spark path. Use a soft brush or cloth to gently remove buildup. This fixes most igniter problems.
Avoid bending the igniter tip too aggressively. Small adjustments work best. Bending it too far can crack the metal or break internal connections. Make one tiny bend, test it, then adjust again if needed.
Don’t forget to check gas flow. If your igniter sparks perfectly but the stove won’t light, the problem isn’t the igniter at all. Gas might not be reaching the burner. Check your fuel supply and burner holes for blockages first.
Finally, avoid working on a cold stove in dim light. Wait for the stove to cool completely before touching the igniter. Use bright light to see what you’re doing. Mistakes happen when you rush or can’t see clearly.
Take your time with piezo igniter repairs. Most failures come from impatience, not broken parts.
Final Thoughts
A failing piezo igniter feels frustrating, but most fixes are simple. Cleaning, checking wires, and adjusting the gap solve the majority of spark problems.
You don’t need special tools or advanced skills. A soft brush, a little patience, and careful observation get your stove working again.
Remember that debris and moisture cause more failures than actual part breakage. Always start with the easiest fixes before assuming your stove needs replacement parts.
Take your time during each step. Rushing leads to mistakes like bending the igniter tip too far or missing a loose wire connection.
Test your stove after every small change you make. This helps you spot exactly what fixed the problem, so you learn your stove’s quirks for next time.
If cleaning and adjusting truly don’t work, deeper issues may exist. A cracked piezo element or damaged internal wiring sometimes needs professional attention or part replacement.
Still, these deeper problems are less common than simple fixes. Most campers get their igniter sparking again with basic maintenance.
Keep your stove clean after every trip. Wipe away food residue, grease, and moisture before storing it away.
This small habit prevents many future sparking issues. A clean stove starts easier and lasts longer overall.
Carry a small backup lighter on your camping trips too. This gives you a reliable backup if your igniter ever fails in the field.
Piezo igniters are simple devices, but they do wear down over years of use. Understanding how they work helps you fix problems quickly and confidently.
With the steps in this guide, you now have the knowledge to troubleshoot sparking issues yourself. Your camp stove should serve you well for many more outdoor adventures ahead.
Frequently Asked Questions
What causes a piezo igniter to stop sparking suddenly?
Your igniter stops working for a few main reasons. Debris and moisture build up around the igniter tip and block the spark. Food residue, grease, or dust from camping trips settle on the electrode. Moisture from rain or humid storage corrodes the connection. The igniter wire can also loosen from vibration during transport.
Sometimes the gap between the igniter tip and burner head shifts. This happens when you bump the stove or pack it carelessly. A cracked or worn piezo element inside the button also fails over time, but this is less common than simple buildup.
How do I know if my igniter needs cleaning versus replacement?
Start with the cleaning approach first. Remove visible dirt, grease, and spider webs from the igniter tip using a soft brush. Wipe away any moisture with a dry cloth. Press the igniter button and listen for a clicking sound.
If you hear clicks but see no spark, the problem is likely gap distance or moisture. If you hear nothing at all, check the wire connection. Only consider replacement after cleaning and adjusting the gap fail to restore the spark. Look closely at the igniter tip under bright light for visible cracks or chips. If the ceramic looks intact and the wire feels secure, cleaning usually solves the problem.
Can I adjust the gap myself without tools?
Yes, you can make small adjustments with your hands. The igniter tip can be bent slightly closer to or farther from the burner head. Use gentle, steady pressure to avoid breaking the ceramic element. Move it only a millimeter or two at a time.
Test the spark after each tiny adjustment. If the gap is too close, the spark won’t ignite gas properly. If it’s too far, the spark won’t reach the burner. The ideal distance is usually about the width of a matchstick.
What should I do if my stove got wet?
Allow the stove to dry completely in a warm, dry place for at least 24 hours. Remove the igniter button if possible and let it air dry separately. Moisture inside the igniter mechanism prevents sparking, but drying often fixes this issue.
After drying, test the igniter several times. If sparking returns, you’ve solved the problem. If it still fails, proceed with cleaning the igniter tip and checking the wire connection once the stove is completely dry.

Hi, I’m Minnie Cole, the creator of The Output Lab — a space where I share my passion for all things tech. I spend my days exploring the latest gadgets, devices, and electronics on Amazon, putting them through real-world testing so you don’t have to.