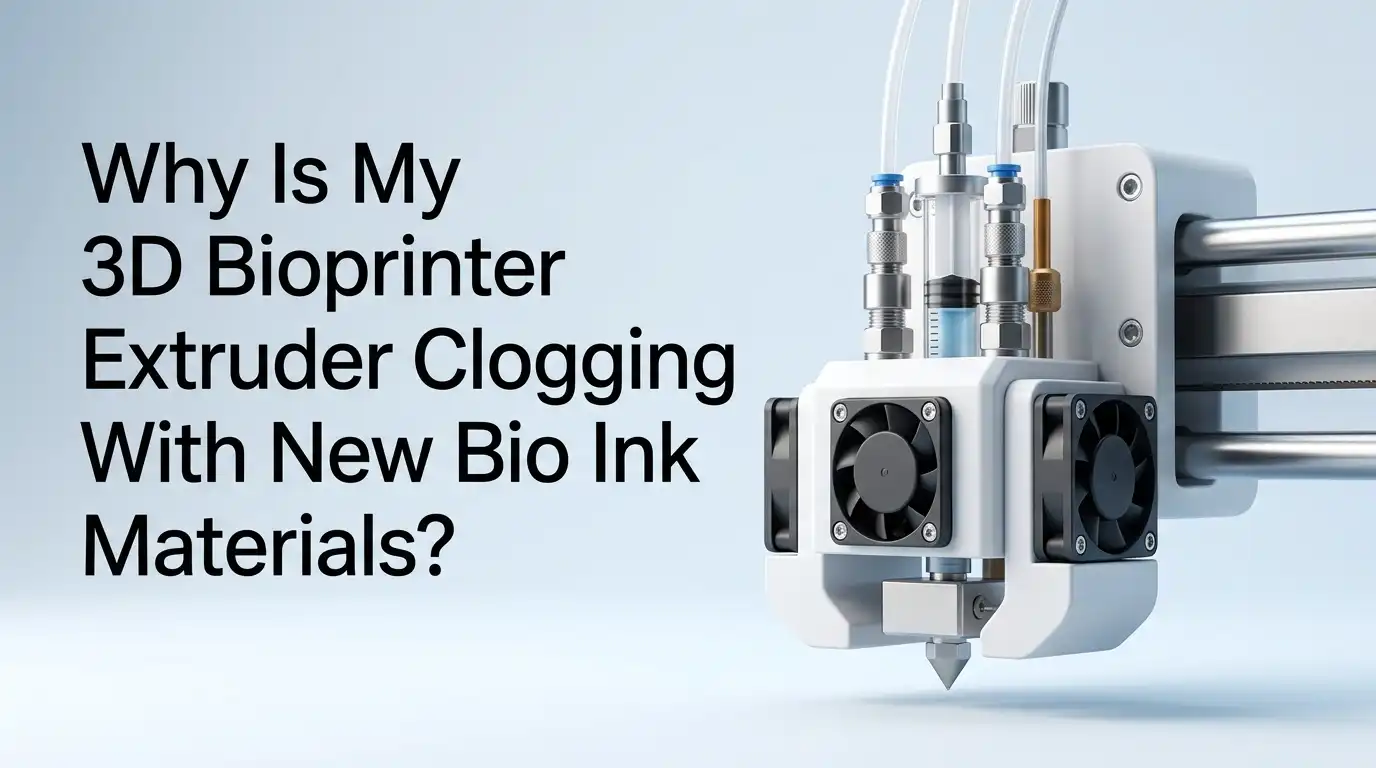
Why Is My 3D Bioprinter Extruder Clogging With New Bio Ink Materials?
You loaded a fresh batch of bio ink into your 3D bioprinter, started a print, and within minutes the extruder stopped flowing. The nozzle is clogged again. Sound familiar? You are not alone.
Extruder clogging is one of the most common and frustrating problems in extrusion based bioprinting, and it happens even more often when you switch to a new bio ink formulation.
The reasons behind this issue range from viscosity mismatches and premature crosslinking to something as simple as choosing the wrong needle gauge. The good news is that almost every clogging problem has a clear, fixable cause.
In a Nutshell
- Bio ink viscosity is the number one reason for extruder clogs. A bio ink that is too thick will resist flow through the nozzle, while one that is too thin may dry and form solid deposits at the tip. Each new bio ink formula has a unique viscosity profile that must match your printer’s pressure and nozzle specifications.
- Premature crosslinking inside the nozzle causes blockages fast. If your bio ink begins to gel or solidify before it exits the extruder, you will experience partial or total clogging. This is especially common with photocurable hydrogels exposed to ambient light or thermosensitive materials at incorrect temperatures.
- Nozzle gauge and geometry directly affect clogging risk. Research shows that optimal nozzle diameters for bioprinting range from 0.2 mm to 1.0 mm. Using a nozzle that is too narrow for your bio ink’s particle size or cell density will cause immediate jams.
- Air bubbles trapped in the bio ink create inconsistent extrusion and clogs. Even a small air pocket can interrupt material flow and cause the extruder to stall or deposit unevenly.
- Temperature control is critical for thermosensitive bio inks. Materials like gelatin methacryloyl (GelMA) change viscosity rapidly with temperature shifts. Without proper print head temperature management, these bio inks will solidify inside the nozzle.
- Proper bio ink preparation and storage prevent most clogging issues before they start. Homogeneous mixing, correct storage temperatures, and fresh needles eliminate the majority of extrusion failures that researchers face with new formulations.
Understanding Why New Bio Inks Behave Differently
Every bio ink has a unique combination of polymer concentration, cell density, and rheological behavior. A bio ink that worked perfectly last week may share almost nothing in common with the new one you just received.
New bio inks often contain different base hydrogels such as alginate, gelatin, hyaluronic acid, or silk fibroin. Each of these materials has a distinct flow profile.
The shear thinning properties of bio inks vary widely between formulations. Some bio inks decrease in viscosity under pressure and flow smoothly through the nozzle. Others maintain high viscosity even under extrusion force. This difference alone explains why a printer setting that worked for one bio ink causes clogs with another.
Pros of testing new bio inks: Access to better cell viability, improved structural properties, and wider application potential. Cons: Each new material requires recalibration of pressure, temperature, speed, and nozzle selection, which takes time and wastes material during optimization.
How Viscosity Mismatches Cause Clogging
Viscosity is the single biggest factor in bio ink extrusion success. Research on biomaterial ink viscosity shows that bio inks used in extrusion based bioprinting rely on air pressure for material deposition. If the viscosity is too high for the applied pressure, the material simply will not move through the nozzle.
High viscosity bio inks have a strong resistance to flow. They demand higher extrusion pressures to push through small nozzle openings. But pushing pressure above safe limits (generally above 2 bar for cell laden inks) can damage cells and reduce post print viability.
On the other hand, very low viscosity bio inks can pool at the nozzle tip, dry out, and form a solid plug over time. The fix is straightforward. Match your bio ink’s viscosity to the correct nozzle gauge and pressure range before starting a full print.
Always run a short extrusion test first. Pros of viscosity matching: Smooth, consistent flow and better print resolution. Cons: Requires rheological testing equipment and adds preparation time.
The Role of Premature Crosslinking in Nozzle Blockages
Premature crosslinking is a silent clog maker. Many bio inks are designed to solidify through chemical, ionic, or photo crosslinking after extrusion. But if this process begins inside the nozzle, the material hardens before it can be deposited.
Photocurable hydrogels like GelMA can crosslink if exposed to UV or blue light before extrusion. Using a transparent nozzle in a well lit lab can trigger this reaction. The solution is simple: use an opaque nozzle to shield the bio ink from premature light exposure.
Ionic crosslinking can also start too early. For example, alginate based bio inks that come into contact with calcium ions before extrusion will begin gelling inside the syringe.
Crosslinking kinetics must be precisely controlled to avoid printer nozzle blockage. Pros of controlled crosslinking: Strong structural integrity after printing. Cons: Requires careful timing and environmental control, and mistakes cause immediate clogs.
Temperature Problems That Lead to Extruder Jams
Thermosensitive bio inks change viscosity based on temperature. GelMA hydrogels, for instance, become more viscous and gel like as temperature drops. If your print head is too cold, the bio ink will solidify inside the nozzle and stop flowing entirely.
Research confirms that the temperature and time dependent viscoelastic behavior of GelMA directly affects its printability in extrusion based systems. Without temperature control of the print head, these materials become unprintable within minutes.
The solution is to set the correct extruder temperature for your specific bio ink before loading the syringe. Many bioprinters offer heated or cooled print heads for this reason. Monitor the temperature throughout the print because even a few degrees of drift can cause problems.
Pros of temperature control: Consistent extrusion and predictable results. Cons: Not all bioprinters have built in temperature regulation, and retrofitting adds cost.
Choosing the Right Nozzle Gauge for Your Bio Ink
Nozzle selection is not optional. It is a critical decision that affects every print. Studies on bioprinting nozzle optimization show that optimal nozzle diameters range from 0.2 mm to 1.0 mm, with recommended lengths between 8 mm and 10 mm. Using a nozzle that is too narrow for your bio ink’s composition will result in jams.
Bio inks containing nanoparticles, microcarriers, or high cell densities need wider gauge nozzles. If particles in the bio ink are larger than roughly one tenth of the nozzle diameter, clogging becomes almost inevitable. A 27G needle works well for many standard hydrogels, but cell laden bio inks with high density often require a 22G or 25G needle.
Conical (tapered) nozzles produce lower shear stress at the walls compared to cylindrical nozzles. This means less cell damage and smoother flow.
Research recommends an internal nozzle angle of 20 to 30 degrees for best results. Pros of proper nozzle selection: Fewer clogs, higher cell viability, better resolution. Cons: Wider nozzles reduce print resolution, so you must balance flow against detail.
How Air Bubbles Disrupt Bio Ink Flow
Air bubbles trapped inside the syringe barrel or the bio ink itself cause uneven extrusion and sudden flow stops. A bubble reaching the nozzle tip creates a momentary pressure drop. This interruption can allow the bio ink to partially dry or crosslink at the opening, forming a clog.
Removing air bubbles requires careful syringe loading. Centrifuge the bio ink before loading it into the syringe. Load the material slowly and tap the syringe to release trapped air.
Always insert the rubber stopper into the syringe barrel. Printing without the stopper can displace material along the syringe walls and introduce more air into the system.
If bubbles appear during printing, pause the job, increase pressure slightly, and hold the extrude button to push out the trapped air. Pros of bubble removal: Consistent deposition and fewer mid print clogs. Cons: Centrifuging adds preparation time, and some bio inks are sensitive to the forces involved.
Pressure Settings That Prevent and Cause Clogs
Incorrect pressure is a direct path to clogging. Too little pressure means the bio ink cannot overcome its own viscosity to exit the nozzle. Too much pressure can force material through unevenly, cause splattering, or even damage the syringe seal.
For cell laden bio inks, experts recommend limiting pressure to 2 bar to maintain cell viability. If extrusion does not happen at your current pressure setting, increase gradually in small increments while testing flow with the extrude button. If extrusion still fails at 5.5 bar, the clog is likely mechanical and requires nozzle replacement.
Make sure your air compressor supplies more pressure than the extruder requires. The printer can manage excess pressure from the source, but it cannot compensate for insufficient input. Pros of proper pressure calibration: Reliable material flow without cell damage. Cons: Finding the exact pressure for each new bio ink takes trial and error.
Bio Ink Preparation Steps That Prevent Clogging
Many clogs originate before the print even starts. Poor bio ink preparation is a leading cause of extrusion failure. If the bio ink is not homogeneously mixed, lumps or phase separated regions will jam the nozzle.
Follow these steps for every new bio ink. First, check for phase separation. The bio ink should look uniform in color and consistency.
Second, mix gently but thoroughly using the method recommended by the manufacturer. Third, store the bio ink at the correct temperature before use. Most hydrogel bio inks perform best when stored at 4°C and brought to working temperature just before printing.
Use a fresh needle for every print. Reused needles may contain dried material or microscopic damage that promotes clogging. If using a reusable nozzle, clean it completely and inspect it for blockages. Pros of proper preparation: Eliminates the most common source of clogs. Cons: Adds 15 to 30 minutes to your workflow per print session.
Step by Step Guide to Clearing a Clogged Extruder
When a clog occurs mid print, act fast. Follow this sequence to clear the blockage without damaging your equipment or wasting bio ink.
- Step 1: Stop the print and check if the extruder is still pressurized. Verify the pressure reading in your printer’s software.
- Step 2: Increase pressure slightly and hold the extrude button for several seconds to push out the clog.
- Step 3: If the clog persists, try immersing the needle tip in phosphate buffered saline (PBS). This can soften and dissolve dried material at the tip.
- Step 4: Remove the needle and inspect it visually. If you see dried material inside, replace it with a fresh one.
- Step 5: If clogging happens repeatedly with the same bio ink, switch to a larger gauge nozzle and recalibrate your pressure and speed settings.
Pros of this method: Fast, low waste, and effective for most soft clogs. Cons: Does not fix clogs caused by premature crosslinking deep inside the syringe.
Matching Print Speed to Bio Ink Flow Rate
Print speed and extrusion rate must work together. If the print head moves too fast for the bio ink’s flow rate, the extruded line becomes thin, inconsistent, or breaks entirely. If the head moves too slowly, material over deposits and can back up into the nozzle.
For new bio inks, start with a slower print speed and increase gradually while observing the deposited line quality. The goal is a continuous, uniform filament that holds its shape on the build surface. Each bio ink has a sweet spot where print speed and extrusion pressure produce optimal results.
Use test prints with simple geometries like straight lines or single layer grids to find this balance before starting complex structures. Pros of speed calibration: Better print quality and fewer flow related clogs. Cons: Requires multiple test runs, which uses bio ink and time.
Bio Ink Compatibility With Your Printer Hardware
Not every bio ink works with every bioprinter. Material compatibility depends on your printer’s extrusion mechanism (pneumatic, piston driven, or screw driven), temperature control range, and maximum pressure output.
Pneumatic systems work best with bio inks that have shear thinning properties because they respond well to pressure based flow control. Piston driven systems offer more precise volume control and handle higher viscosity materials better. Screw driven systems can process very thick bio inks but introduce more shear stress.
Before purchasing or formulating a new bio ink, check whether your printer’s specifications match the bio ink’s requirements.
Verify the compatible nozzle types, pressure ranges, and temperature settings. Pros of compatibility checks: Avoids wasted time and materials on unusable combinations. Cons: Limits your bio ink options to what your hardware can support.
Long Term Maintenance to Prevent Recurring Clogs
Consistent maintenance keeps your bioprinter running smoothly and reduces clogging events over time. After every print session, clean the extruder pathway and replace or clean the nozzle. Dried bio ink residue accumulates quickly and becomes harder to remove the longer it sits.
For printers used with thermoplastic support materials, follow a dedicated cleaning protocol between material changes. Flush the system with a compatible solvent or cleaning solution. Inspect all seals and gaskets for wear because a damaged seal allows air into the system and disrupts flow.
Keep a maintenance log that tracks which bio inks caused problems, what nozzle gauges you used, and what pressure and temperature settings worked.
This record becomes invaluable as you test new materials because it prevents you from repeating failed configurations. Pros of regular maintenance: Longer equipment lifespan and fewer unexpected failures. Cons: Requires discipline and adds time between print sessions.
When to Reformulate or Switch Bio Inks Entirely
Sometimes the bio ink itself is the problem, not your settings or equipment. If you have optimized pressure, temperature, nozzle gauge, and preparation steps but still experience persistent clogs, the bio ink formulation may not be suitable for your printer.
Signs that a bio ink needs reformulation include rapid gelation at room temperature, visible phase separation that returns after mixing, and particle sizes that exceed nozzle tolerance. In these cases, consider adjusting the polymer concentration, adding a flow modifier, or switching to a different base hydrogel.
Consult the bio ink manufacturer’s technical data sheet for recommended printing parameters. If those parameters fall outside your printer’s capabilities, it is more practical to choose a different bio ink than to force an incompatible material through your system.
Pros of switching: Saves time, reduces frustration, and protects your equipment. Cons: New bio inks require a fresh round of optimization and testing.
Frequently Asked Questions
What is the most common cause of bio ink clogging in 3D bioprinters?
The most common cause is a viscosity mismatch between the bio ink and the printer’s pressure and nozzle settings. When the bio ink is too thick for the applied pressure or the nozzle diameter is too small, the material cannot flow through. Adjusting pressure and switching to an appropriate nozzle gauge resolves this issue in most cases.
How do I prevent premature crosslinking inside the nozzle?
Use opaque nozzles for photocurable bio inks to block ambient light exposure. For thermosensitive materials, maintain the correct print head temperature throughout the session. For ionic crosslinking bio inks, avoid introducing crosslinking agents into the syringe before extrusion.
What nozzle size should I use for cell laden bio inks?
For bio inks with high cell densities or suspended particles, use a 22G to 25G nozzle. Standard hydrogels without cells often work well with a 27G nozzle. Choose conical (tapered) nozzles over cylindrical ones because they produce lower shear stress and reduce clogging risk.
Can air bubbles really cause my extruder to clog?
Yes. Air bubbles interrupt the continuous flow of bio ink through the nozzle. When a bubble reaches the tip, it creates a pressure gap that allows the bio ink to dry or partially crosslink at the opening. Centrifuging the bio ink and loading syringes slowly prevents most bubble related problems.
How often should I replace or clean my bioprinter nozzle?
Use a fresh needle for every print session whenever possible. If you use reusable nozzles, clean them thoroughly after each print and inspect for residue or damage before the next use. Accumulated dried bio ink is a major cause of recurring clogs.
What pressure range is safe for printing with living cells?
Research recommends keeping extrusion pressure below 2 bar for cell laden bio inks. Higher pressures can reduce cell viability significantly. If your bio ink requires pressure above this threshold, consider switching to a wider gauge nozzle or adjusting the bio ink’s viscosity through concentration changes.
Hi, I’m Minnie Cole, the creator of The Output Lab — a space where I share my passion for all things tech. I spend my days exploring the latest gadgets, devices, and electronics on Amazon, putting them through real-world testing so you don’t have to.