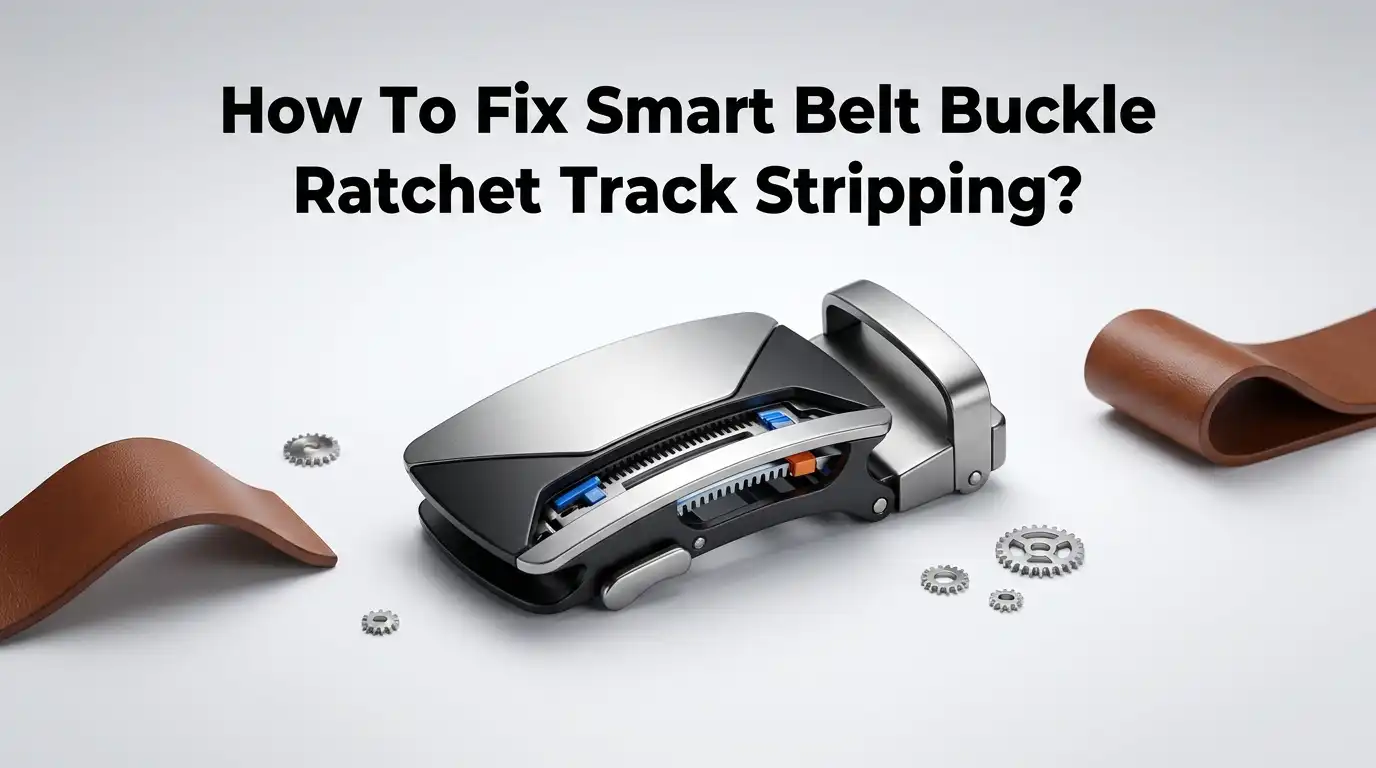
How To Fix Smart Belt Buckle Ratchet Track Stripping?
A smart belt buckle makes life easy. You pull the strap, and the ratchet track locks it into place. No holes to punch. No guessing where it fits.
But sometimes, that smooth click turns into a frustrating slip. The teeth on the track wear down. The buckle stops gripping the strap.
This problem is called ratchet track stripping. It happens when the tiny grooves inside the buckle lose their shape. Once that happens, your belt feels loose no matter how hard you pull it.
In a Nutshell
- Check the track first. Look closely at the ratchet strap for worn or bent teeth. This is often the main cause of slipping.
- Clean out the dirt. Small bits of dust or grime can build up inside the buckle. A quick clean can restore the grip instantly.
- Test the belt tension. Make sure you are not pulling the strap too hard. Excess force speeds up wear on the track.
- Realign the buckle. Sometimes the metal piece shifts slightly. Gently push it back into its correct position to stop the slip.
- Know when to replace. If the teeth are too damaged, cleaning will not help. A new strap is the only real fix at that point.
- Prevent future issues. Store your belt flat and avoid bending the buckle. This simple habit keeps the ratchet mechanism working smoothly for longer.
Understanding How Ratchet Track Buckles Work
A smart belt buckle with a ratchet track works through a simple mechanical system. The buckle contains small teeth or notches along a metal strip. When you thread the belt through and pull it tight, these teeth catch and hold the fabric in place.
The ratchet mechanism lets you adjust the belt to different sizes without holes. You simply slide the belt forward or backward until it feels snug. The teeth grip the material and keep it from slipping back. This design offers comfort because you can find the exact fit you need.
Inside the buckle, a spring or lever system helps the teeth grip. When you pull the belt, tension pushes the fabric against these teeth. The grip gets stronger as you tighten. This is what creates that satisfying click sound many people notice.
The track itself is usually made from metal or reinforced plastic. It must stay smooth and aligned for proper function. Even small damage to the teeth can cause problems. When teeth bend or break, the fabric slips through instead of catching.
Understanding this basic structure helps you spot problems early. If your belt feels loose or slides around, the ratchet system may be failing. The issue often starts small and gets worse over time.
Regular inspection keeps your buckle working well. Look at the track every few weeks. Check for bent teeth or visible wear marks. Clean out any debris that collects inside. These simple habits prevent most ratchet track problems before they start.
Common Causes of Ratchet Track Stripping
Ratchet track stripping happens for several reasons. Understanding these causes helps you prevent the problem before it starts.
Repeated friction and wear is the main culprit. Every time you fasten and unfasten your belt, the teeth on the ratchet track experience stress. Over months or years, this constant movement breaks down the metal or plastic material. The teeth become flatter and smoother until they can no longer grip properly.
Poor quality materials play a big role too. Some belt buckles use softer metals or thin plastic for the track. These materials wear out much faster than stronger alternatives. Budget friendly buckles often fail sooner because manufacturers cut costs on materials.
Dirt and debris buildup accelerates the stripping process. Sand, dust, and lint get trapped inside the buckle mechanism. This gritty material acts like sandpaper against the teeth. It scratches and erodes the ratchet track faster than normal wear would.
Excessive tension damages the track quickly. Pulling the belt too tight puts extra pressure on the teeth. This forces them to bend or break rather than wear evenly. Tight belts also prevent the ratchet from moving smoothly through its range.
Misalignment of the buckle causes uneven wear patterns. If the metal plate shifts or tilts, some teeth take all the stress. These overused teeth strip away while others remain untouched. This creates weak spots that fail suddenly.
Moisture and rust weaken metal tracks over time. Sweat, humidity, and water exposure cause oxidation. Rust eats away at the metal surface and weakens its structure. The corroded teeth become brittle and snap off more easily.
Knowing these causes helps you use and maintain your belt properly.
Tools and Materials You Will Need
Before you start fixing your ratchet track, gather the right items. You will need a few basic things from around your home or a general hardware store.
Cleaning supplies are your first priority. Get a soft brush or old toothbrush to remove dirt and debris. You will also want a small cloth or rag. Mild soap and warm water work great for cleaning. Some people prefer using a dry cloth first to wipe away loose dust.
Inspection tools help you see the damage clearly. A magnifying glass or jeweler’s loupe lets you examine the teeth closely. Good lighting is important too. A flashlight or work lamp helps you spot bent or worn areas.
Repair materials depend on your situation. Keep a small file or emery board handy for smoothing rough edges. Sandpaper in medium and fine grits works well for gentle smoothing. You might need a small hammer or mallet for realignment tasks.
Lubrication products can help restore function. A dry lubricant spray works better than oil based options. Oil attracts dirt and makes things sticky. Silicone spray or PTFE based lubricants are safer choices for buckles.
Safety items protect you during repairs. Wear work gloves to protect your hands from sharp edges. Safety glasses keep debris out of your eyes. A small towel catches any spills or loose parts.
Optional tools make work easier. A vice or clamp holds the belt steady while you work. Needle nose pliers help adjust small metal components. A screwdriver set covers various fastening needs.
Gathering these items beforehand saves time and frustration. You will work more efficiently when everything sits within reach.
Step-by-Step Guide to Fixing a Stripped Ratchet Track
Start by removing your belt from your waist. Place it on a clean, flat work surface where you have good lighting. This gives you a clear view of the damaged ratchet track.
Examine the stripped area closely. Use a magnifying glass if needed to see exactly which teeth are worn down or broken. Mark the problem spots with a marker so you don’t miss them during repair.
If the damage is minor, you may be able to file down the rough edges. Use a small metal file to smooth out any burrs or jagged pieces. Work gently to avoid making the damage worse.
For slightly stripped teeth, try applying a thin coat of epoxy or metal filler to rebuild the worn areas. Follow the product instructions carefully. Let it dry completely before testing the belt.
Once the filler hardens, use fine grit sandpaper to smooth the surface. The ratchet teeth should feel even and not catch on the buckle mechanism.
Test the belt’s function before wearing it. Pull the strap through the buckle several times. The mechanism should move smoothly without grinding or resistance.
If the track still doesn’t work properly, you may need to replace the entire buckle unit. Some smart belts have removable buckles that you can swap out.
Prevention matters more than repair. Avoid pulling your belt too tight, as excess tension damages the track faster. Store your belt rolled or hung up rather than folded. Keep the buckle dry and clean.
Regular maintenance stops small problems from becoming big ones. Check your ratchet track monthly for signs of wear.
Tips for Reinforcing a Repaired Buckle Track
After you repair your ratchet track, reinforcement prevents future damage. Strong maintenance habits protect your investment and keep your belt functional longer.
Apply a protective coating once the repair hardens completely. Metal sealants or clear epoxy create a barrier against moisture and rust. This step is especially important if your belt faces outdoor conditions or humidity. The coating acts like armor for your newly fixed track.
Consider using a lubricant designed for metal components. A thin application reduces friction between the buckle teeth and track. Less friction means less wear over time. Apply lubricant sparingly, as too much attracts dirt and debris.
Inspect your repaired buckle weekly during the first month. Check for any signs of the problem returning. Early detection stops small issues before they become major failures again. Look for loose particles, discoloration, or clicking sounds when you adjust the belt.
Adjust how you wear your belt to reduce stress on the repaired area. Avoid pulling it extremely tight around your waist. Excessive tension was likely a cause of the original stripping. A comfortable fit that doesn’t restrict movement works better anyway.
Store your belt properly when not in use. Hang it on a hook or roll it loosely. Avoid folding or creasing the buckle area repeatedly. Proper storage prevents unnecessary stress on your repair work.
Replace the entire buckle unit if damage returns quickly. Repeated failures mean the track cannot handle normal use anymore. A new buckle costs less than constant repairs. Sometimes replacement is the most practical solution for long term reliability and peace of mind.
Common Mistakes to Avoid During Repair
Making mistakes during repair can undo all your hard work. Here are the most common errors people make when fixing smart belt buckle ratchet tracks.
Rushing through the inspection phase is a major mistake. Many people skip a thorough examination and jump straight to repairs. Take time to see exactly where the stripping occurs. Look at the entire track, not just the damaged spot. This prevents you from missing additional wear that could cause problems later.
Applying too much filler or epoxy at once creates bulky repairs. The material hardens unevenly and prevents the buckle from functioning smoothly. Use thin layers instead. Let each layer dry completely before adding more. This approach gives you better control over the final result.
Skipping the sanding step leaves rough edges that catch and tear. After filler hardens, always sand the area smooth. Use fine grit sandpaper and work gently. Rough surfaces will continue to damage the track mechanism.
Ignoring moisture during repairs weakens the fix quickly. Never apply filler or epoxy to a wet surface. Clean and dry the area completely first. Moisture trapped under the repair causes it to fail within days.
Testing too early gives false results. Let all materials cure for the full recommended time. Premature testing can damage fresh repairs. Wait until everything is completely hard before wearing the belt.
Overtightening the buckle after repair defeats the purpose. Many people revert to old habits immediately. Start with looser settings. Gradually increase tension as you confirm the repair holds. This protects your newly fixed track from immediate stress.
Troubleshooting Persistent Slipping or Stripping Issues
Persistent slipping or stripping in your smart belt buckle ratchet track happens when the teeth wear down unevenly. This problem gets worse over time if you don’t address it. Understanding the root causes helps you fix it properly.
Wear patterns develop from repeated use in the same spot. Your buckle may slip because the teeth no longer grip the track securely. This creates a cycle where the problem accelerates quickly.
Check if your belt slips during normal wear or only under tension. Slipping during light activity means the damage is more severe than you think. Test the buckle by fastening it and gently pulling the belt to see how much movement occurs.
Material buildup inside the track can feel like stripping. Dirt, dust, and debris accumulate in the grooves and prevent proper engagement. Clean the track thoroughly before deciding the teeth are actually damaged.
Moisture causes rust on metal buckles, which mimics stripping symptoms. The corrosion creates rough spots that prevent smooth ratcheting. Dry the buckle completely and inspect for actual metal loss versus surface rust.
Temperature changes affect how your buckle functions. Cold weather makes materials contract, causing temporary slipping. Warm weather may expand components slightly. These seasonal changes shouldn’t cause permanent damage.
Repeated pressure in one area damages the track faster than normal wear. If you always fasten your belt at the same notch, that spot deteriorates quickly. Rotating where you fasten the buckle distributes wear more evenly.
Document how your buckle behaves before attempting repairs. Note whether slipping happens consistently or intermittently. This information helps you determine if the issue is truly stripping or something else entirely. Accurate diagnosis prevents unnecessary repair attempts and saves you time.
How to Prevent Future Ratchet Track Damage
Smart belt buckles work best when you give them proper care. Prevention stops damage before it starts, so focus on simple daily habits that protect your ratchet track.
Wear your belt at the correct tightness level. Your buckle should hold firmly without forcing the teeth into extreme positions. When you pull too hard, you create unnecessary pressure on the track. Find the sweet spot where your belt stays secure but feels comfortable.
Clean your buckle regularly to remove dirt and debris. Dust and particles get stuck in the ratchet mechanism and cause grinding. Use a soft brush or cloth to wipe the track weekly. This simple step prevents material buildup that mimics stripping.
Keep moisture away from your buckle. Water causes rust on metal components, which weakens the teeth over time. Dry your belt completely if it gets wet. Store your belt in a dry location, away from humid areas.
Rotate between multiple belts instead of wearing the same one daily. This gives your buckle time to rest and reduces repeated stress on one track. Different belts distribute wear across several buckles.
Handle your belt gently when fastening and unfastening. Quick jerking motions strain the mechanism. Move the buckle slowly and deliberately each time you use it.
Check your buckle monthly for early signs of wear. Catch problems early before they become serious. Look for rough spots, uneven teeth, or slight slipping.
Store your belt flat or rolled loosely. Avoid folding or creasing the buckle area, which stresses the ratchet mechanism. Proper storage extends the life of your smart belt significantly.
These habits protect your investment and keep your buckle working smoothly for years.
Final Thoughts
Fixing a stripped ratchet track takes patience, not perfection. You now understand why the damage happens and how to repair it safely at home.
Small fixes make a big difference. A worn track does not always mean your belt is finished. Simple tools and careful steps can restore smooth function again.
Remember that every buckle tells a story through its wear patterns. Pay attention to how your belt behaves. This awareness helps you catch problems early before they get worse.
Repair success depends on your approach. Take your time during each step. Rushing leads to mistakes that cost more time later.
Patience matters more than speed in any repair job. A calm, steady hand produces better results than a hurried one. Give each stage of the process room to work properly.
Your smart belt buckle can serve you well for a long time. Good care and quick action on small issues prevent bigger failures down the road.
If a repair does not hold, do not feel discouraged. Some damage runs deeper than surface fixes can handle. That outcome simply means it is time for a replacement part.
Trust your judgment throughout this process. You know your belt better than anyone else. Use the steps in this guide as your foundation, then adjust based on what you observe.
Confidence grows with practice. Your first repair might feel tricky, but each attempt teaches you something new. Soon, fixing minor buckle issues becomes second nature.
A well maintained belt buckle rewards you with reliable daily use. Keep these tips close, and your ratchet track will serve you faithfully for years ahead.
Frequently Asked Questions
Can I fix a stripped ratchet track myself?
Yes, you can fix many stripped tracks at home. Most repairs involve cleaning the track, removing debris, and realigning the teeth. Simple fixes work well for minor damage. Severe stripping may need professional help, but basic maintenance handles most problems.
How long does a ratchet track repair take?
A typical repair takes 30 minutes to 2 hours. Cleaning and inspection take the most time. The actual fixing usually happens quickly. You should wait 24 hours before wearing your belt after repair to let any materials set properly.
Why does my buckle keep slipping after I fixed it?
Slipping happens when teeth don’t grip evenly. Check if you applied enough pressure during repair. Moisture inside the track also causes slipping. Make sure the track is completely dry before using your belt again.
What causes ratchet tracks to strip in the first place?
Repeated pressure in the same spot wears teeth down faster. Dirt and debris inside the track speeds up damage. Rust on metal buckles creates rough spots that damage teeth. Wearing your belt too tight puts extra stress on the mechanism. Moisture ruins the grip between teeth and the buckle catch.
Should I replace my belt or repair the buckle?
Repair usually works better than replacement. Buckles cost less to fix than buying a new belt. Your belt’s fabric may still be in good condition. Try a repair first. If the track strips again within weeks, then consider a new belt.

Hi, I’m Minnie Cole, the creator of The Output Lab — a space where I share my passion for all things tech. I spend my days exploring the latest gadgets, devices, and electronics on Amazon, putting them through real-world testing so you don’t have to.