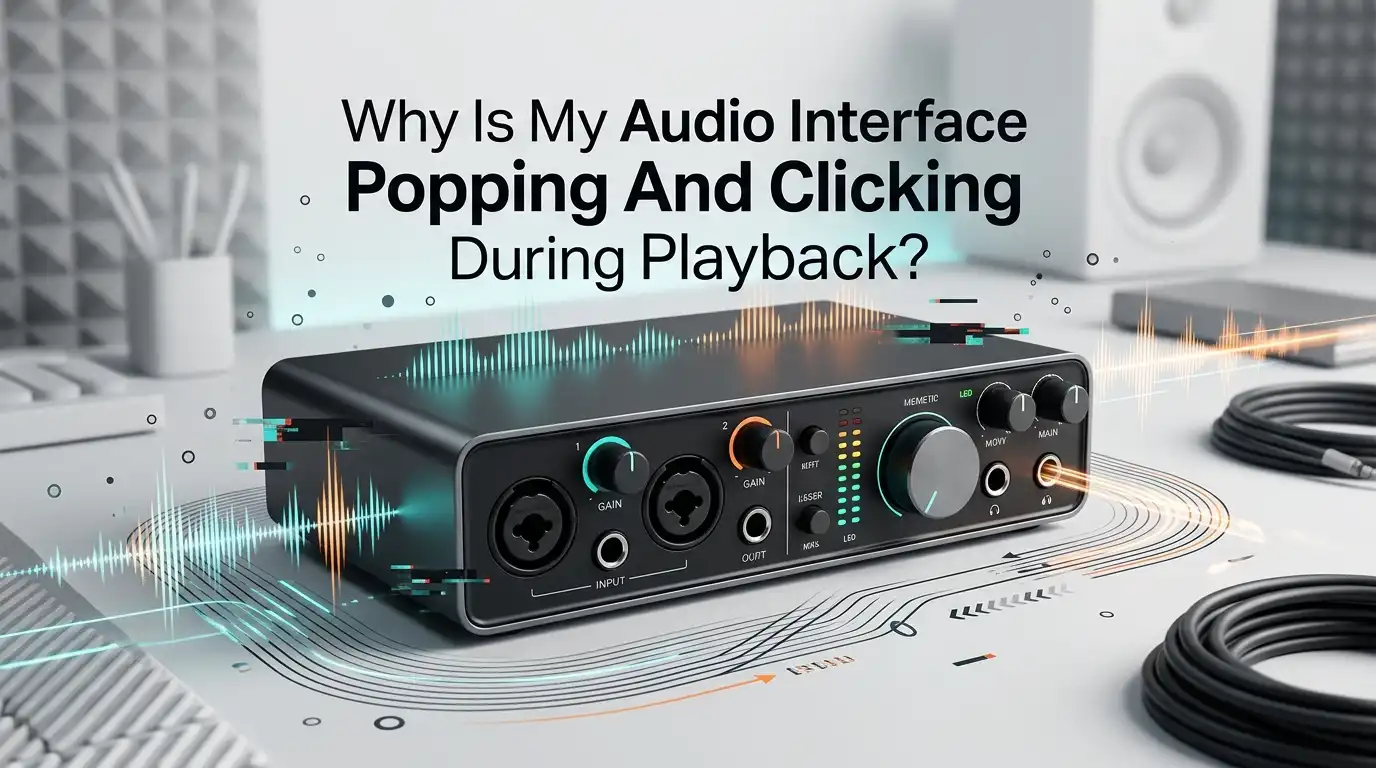
Why Is My Audio Interface Popping And Clicking During Playback?
You hit play on your track. Instead of clean sound, you hear pops, clicks, and crackles. The noise ruins your mix, your recording session, or your favorite song. This problem frustrates beginners and pros alike. The good news is that almost every cause has a fix.
Your audio interface pops and clicks for a few common reasons. The buffer size is too low. The sample rates do not match.
Your CPU works too hard. A driver fails. A cable carries noise. Each cause leaves its own clues. Once you know the clues, you can solve the problem fast.
In a Nutshell
- Buffer size is the number one cause. A buffer that is too low forces your computer to deliver audio faster than it can manage. Raise it during playback and lower it only when you record live.
- Sample rate mismatches create clicks. Your interface, your DAW, and your operating system must all use the same sample rate. A mismatch produces clicking almost every time.
- Your CPU may be overloaded. Too many plugins, high track counts, and heavy software strain the processor. Freeze tracks and close background apps to free up power.
- Drivers matter more than hardware. Outdated, generic, or wrong drivers cause most dropouts. Install the official driver made for your exact interface model.
- DPC latency hides in Windows. Background processes like Wi-Fi adapters, GPU drivers, and power settings interrupt audio. A free tool called LatencyMon finds the guilty process.
- Cables and power cause physical noise. A bad USB cable, a weak USB port, or a ground loop adds pops you cannot fix in software. Swap the cable and check your power source.
What Causes An Audio Interface To Pop And Click
Your interface pops because the audio stream breaks for a tiny moment. The computer cannot send audio data fast enough. The gap in the stream becomes a click in your speakers. This happens for both software and hardware reasons.
Software causes include a small buffer size, mismatched sample rates, weak drivers, and an overloaded CPU. These problems live inside your computer and your settings. You fix them with adjustments, not new gear.
Hardware causes include faulty cables, weak USB power, ground loops, and failing ports. These problems live in the physical chain between your computer and your speakers. You fix them by swapping parts or changing connections.
Most popping comes from software. Start there first. Move to hardware only when settings do not solve the issue. The next sections cover each cause in the order you should check them.
Increase Your Buffer Size First
The buffer size controls how much audio your computer prepares before it plays. A small buffer plays sound with low delay. A large buffer plays sound with more delay but far more stability. A buffer that is too low is the most common reason for popping during playback.
Open your DAW settings or your interface control panel. Find the buffer size value. It shows numbers like 64, 128, 256, 512, or 1024 samples. Raise the buffer to 512 or 1024 samples for mixing and playback. You do not need low latency when you only listen.
Play your track again. The pops should disappear. Pros: This fix is instant, free, and works most of the time. Cons: A higher buffer adds delay, so it feels laggy when you record live instruments or play virtual instruments. Lower the buffer only for live recording, then raise it again for playback.
Match Your Sample Rate Across Everything
A sample rate is how many times per second your system captures audio. Common rates are 44100 Hz and 48000 Hz. Your interface, your DAW, and your operating system must all use the same sample rate. A mismatch produces sharp, repeating clicks.
Check your DAW project sample rate first. Then open your interface control panel and set the same rate. On Windows, open Sound Settings, find your interface, and match the rate in the device properties. On Mac, open Audio MIDI Setup and set the rate there.
Set every part of the chain to 48000 Hz to keep things simple. Restart your DAW after the change. Pros: This fix removes a whole class of clicking and costs nothing. Cons: You must check the setting in three places, and some systems reset the rate after a restart. If yours resets, set the rate again before each session.
Update Or Reinstall Your Audio Drivers
A driver is the software that lets your computer talk to your interface. A bad, old, or generic driver causes pops, dropouts, and disconnections. Many people use the wrong driver without knowing it.
Visit the official website of your interface brand. Download the driver made for your exact model and your operating system. Uninstall the old driver first. Then install the new one and restart your computer.
On Windows, always use the manufacturer ASIO driver instead of a generic one. The native driver talks to your hardware directly and avoids extra processing. Avoid using a shared generic driver for serious work, because it adds latency and instability.
Pros: A proper driver fixes random clicks and improves stability for the whole system. Cons: Finding the right file takes a few minutes, and a wrong install can need a second attempt. Always download from the official source, never from a random link.
Use The Correct ASIO Driver On Windows
Windows users get the most benefit from a true ASIO driver. ASIO stands for Audio Stream Input Output. It lets your DAW skip the Windows audio mixer and reach your interface directly. This direct path lowers latency and removes many pops.
Open your DAW audio settings. Set the driver type to ASIO. Then select your interface name from the list. If you see a generic option like ASIO4ALL, switch to the native driver from your interface brand when one exists.
The native driver almost always performs better than a wrapper driver. Test playback after the change.
Pros: ASIO gives the lowest stable latency and the cleanest playback on Windows. Cons: Only one app can use a native ASIO driver at a time, so you cannot play a browser video and your DAW together with the same driver. A wrapper driver shares access but adds instability, so use it only when you have no native option.
Reduce Your CPU Load
Your CPU does the heavy work during playback. When the CPU runs out of power, the audio stream breaks and you hear crackles. Heavy plugins, large track counts, and big sample libraries push the CPU hard.
Watch the CPU meter in your DAW while you play. If it spikes near the top, you found your cause. Freeze or bounce tracks that use heavy plugins. Disable plugins you do not need right now. Remove old or unused effects from your project.
Close every background program, including web browsers, chat apps, and cloud syncing tools. These steal CPU and memory from your audio.
Pros: Freezing tracks gives huge headroom and stops crackles fast. Cons: A frozen track cannot be edited until you unfreeze it, which slows your workflow. Keep a balance by freezing only the tracks you have finished working on.
Check For DPC Latency On Windows
DPC latency is a hidden delay caused by background system tasks. A single misbehaving driver can interrupt audio thousands of times per second. This creates pops even when your CPU usage looks low. Many users miss this cause because it stays invisible.
Download a free tool called LatencyMon. Run it, press start, and play audio for a few minutes. The tool shows which driver causes the highest latency spikes. Common culprits include Wi-Fi adapters, network drivers, and graphics drivers.
If a network driver shows high spikes, disable Wi-Fi while you work. If a graphics driver causes the issue, update or roll it back.
Pros: LatencyMon points straight to the guilty process, which saves hours of guessing. Cons: The fix can mean disabling features you like, such as Wi-Fi, and some driver changes feel technical. Take notes before you change anything so you can undo it later.
Adjust Your USB Power Settings
Windows tries to save power by switching off USB ports. When it powers down the port that feeds your interface, you get dropouts and clicks. Laptops do this more often than desktops because they protect battery life.
Open Device Manager. Expand the section for Universal Serial Bus controllers. Right click each USB Root Hub, open Properties, and find the Power Management tab. Uncheck the box that allows the computer to turn off the device to save power.
Next, set your power plan to High Performance. This stops the system from throttling your CPU and your ports during playback. Pros: This fix solves random dropouts that appear with no clear pattern.
Cons: High Performance mode uses more battery on a laptop and runs the machine warmer. Switch back to a balanced plan when you finish your session if battery life matters to you.
Swap Your USB Cable And Port
A weak or damaged cable carries audio data poorly. A bad cable causes random clicks, dropouts, and even full disconnections. People often blame the interface when the cable is the real problem.
Try a different, high quality USB cable first. Use a short cable when you can, because long cables lose signal quality. Then plug the interface into a different port. Use a USB port directly on your computer, not on the front panel or a cheap hub.
If your interface needs lots of power, use a powered USB hub instead of an unpowered one. Pros: A cable or port swap is cheap, fast, and fixes many physical noise problems. Cons: You may need to test several cables and ports to find the stable one, which takes patience. Keep one known good cable set aside just for your interface.
Fix Ground Loop And Electrical Noise
Sometimes the noise is a steady hum or buzz, not a sharp click. This usually means a ground loop, which happens when two devices share power through different paths. The clash creates electrical noise that enters your audio.
First, plug your computer, interface, and speakers into the same power outlet or the same power strip. This single step solves many ground loops. Avoid spreading your gear across different outlets in the room.
If the hum stays, a ground loop isolator placed between your interface output and your speakers can block the noise. Pros: Fixing the power layout removes hum without any software changes.
Cons: A ground loop isolator can slightly reduce signal quality if it is low grade, and finding the exact source takes trial and error. Always start with the power outlet fix before you buy any extra gear.
Reset Core Audio On Mac
Mac users have a built in audio engine called Core Audio. When Core Audio glitches, you get popping and crackling across every app, not just your DAW. A simple reset often clears the problem without a restart.
Open the Terminal app. Type the command to restart the audio daemon, which is sudo killall coreaudiod, then press enter. Enter your password when asked. The audio system restarts instantly and clears any stuck process.
You can also open Audio MIDI Setup to check your interface sample rate and format. Set the format to match your project and your interface.
Pros: This reset is fast and fixes many Mac glitches without a reboot. Cons: The command needs Terminal, which feels intimidating to new users, and the fix is temporary if a deeper cause remains. If the popping returns often, check your drivers and sample rate next.
Test With A Different Computer Or Interface
Sometimes you fix everything and the popping stays. A swap test tells you whether the fault is your computer, your interface, or your settings. This step saves you from buying gear you do not need.
Connect your interface to a different computer. Play audio and listen. If the popping disappears, your original computer holds the problem. If the popping follows the interface, the interface or its driver is the cause.
You can also try a different interface on your main computer. This isolates the fault with simple logic. Pros: This test gives a clear answer and ends the guessing. Cons: You need access to a second computer or interface, which not everyone has. Borrow gear from a friend or studio for an hour to run the test before you spend money on replacements.
Keep Your System Optimized For Audio
A clean, tuned system runs audio with fewer interruptions. Regular maintenance prevents pops before they ever start. A few simple habits keep your setup stable for the long term.
Keep your operating system, your DAW, and your drivers updated. Turn off automatic updates during sessions so they do not run in the background. Disable Wi-Fi and Bluetooth when you work, because they create latency spikes.
Restart your computer before a serious session to clear memory and stuck processes. Keep your project files on a fast drive with free space.
Pros: Good habits stop most problems and keep performance high over time. Cons: Maintenance takes a little regular effort, and some users forget to do it. Make a short checklist and run it before each session so the steps become automatic.
Frequently Asked Questions
Why does my audio interface pop only when I use plugins?
Plugins use CPU power. When you add heavy plugins, the CPU works harder and the audio stream breaks. This creates popping. Freeze the tracks that use heavy plugins. Raise your buffer size during playback. Close background apps to free up more processing power.
Does a higher buffer size always stop popping?
A higher buffer size stops most popping during playback. It gives your computer more time to prepare audio. It does not fix every cause, though. Driver problems, sample rate mismatches, and bad cables need their own fixes. Try the buffer first, then move to the other steps if needed.
Is popping a sign my audio interface is broken?
Popping rarely means a broken interface. Most popping comes from settings, drivers, CPU load, or cables. Run a swap test to be sure. Try the interface on another computer. If the popping follows the interface everywhere, then the hardware may have a fault.
Why do clicks appear even when my CPU usage is low?
Low CPU usage with clicks usually points to DPC latency. A background driver interrupts the audio stream many times per second. Use LatencyMon to find the guilty driver. Common causes include Wi-Fi adapters and graphics drivers. Update or disable the problem driver.
Should I use 44100 Hz or 48000 Hz to avoid clicks?
Both rates work well. The key is to match the rate across your interface, your DAW, and your operating system. A mismatch causes clicks, not the rate itself. Many producers pick 48000 Hz as a simple standard. Pick one rate and set it everywhere.
Can a USB hub cause my interface to pop?
Yes. An unpowered or cheap USB hub may not deliver enough power or stable data. This causes dropouts and pops. Plug your interface directly into your computer when you can. If you must use a hub, choose a powered one with its own adapter.

Hi, I’m Minnie Cole, the creator of The Output Lab — a space where I share my passion for all things tech. I spend my days exploring the latest gadgets, devices, and electronics on Amazon, putting them through real-world testing so you don’t have to.