How To Fix Neural Headband Sensor Spring Contact Bending?
Your neural headband works best when its sensor spring contacts sit straight and firm. These tiny metal pins press against your skin to pick up brain signals. When they bend, your device may lose connection or give weak readings.
This problem happens to many users over time. Daily wear, storage in bags, or accidental drops can push the spring contacts out of shape. You might notice choppy signals or a headband that keeps disconnecting.
The good news is that you can often fix this at home. You do not need to buy a new headband right away. With patience and the right steps, you can straighten bent contacts and restore proper function.
In a Nutshell
- Check the spring contacts first. Look closely for bent pins before you touch anything else. This helps you understand the actual problem.
- Gather simple tools. You likely already have tweezers, a small flat tool, and good lighting at home. No special equipment is needed.
- Straighten pins with gentle pressure. Slow and steady movements work better than rushing. Patience matters more than force here.
- Test the headband after each adjustment. Put it on and check the connection. This tells you if your fix worked.
- Avoid common mistakes like pressing too hard. Bent pins can snap if you force them. Small, careful movements protect the sensor.
- Know when to stop trying. Some damage needs professional help instead. Your safety and the device’s function come first.
Understanding Spring Contact Sensors and Their Role in Neural Headbands
Spring contact sensors form the backbone of how your neural headband reads brain activity. These small metal components sit inside your device and create electrical pathways between the sensors and your skin.
The spring contacts work by maintaining consistent pressure against your scalp. When you wear the headband, these springs push the sensor tips firmly into place. This pressure allows the device to pick up neural signals accurately. Without proper contact, your headband cannot read your brain waves correctly.
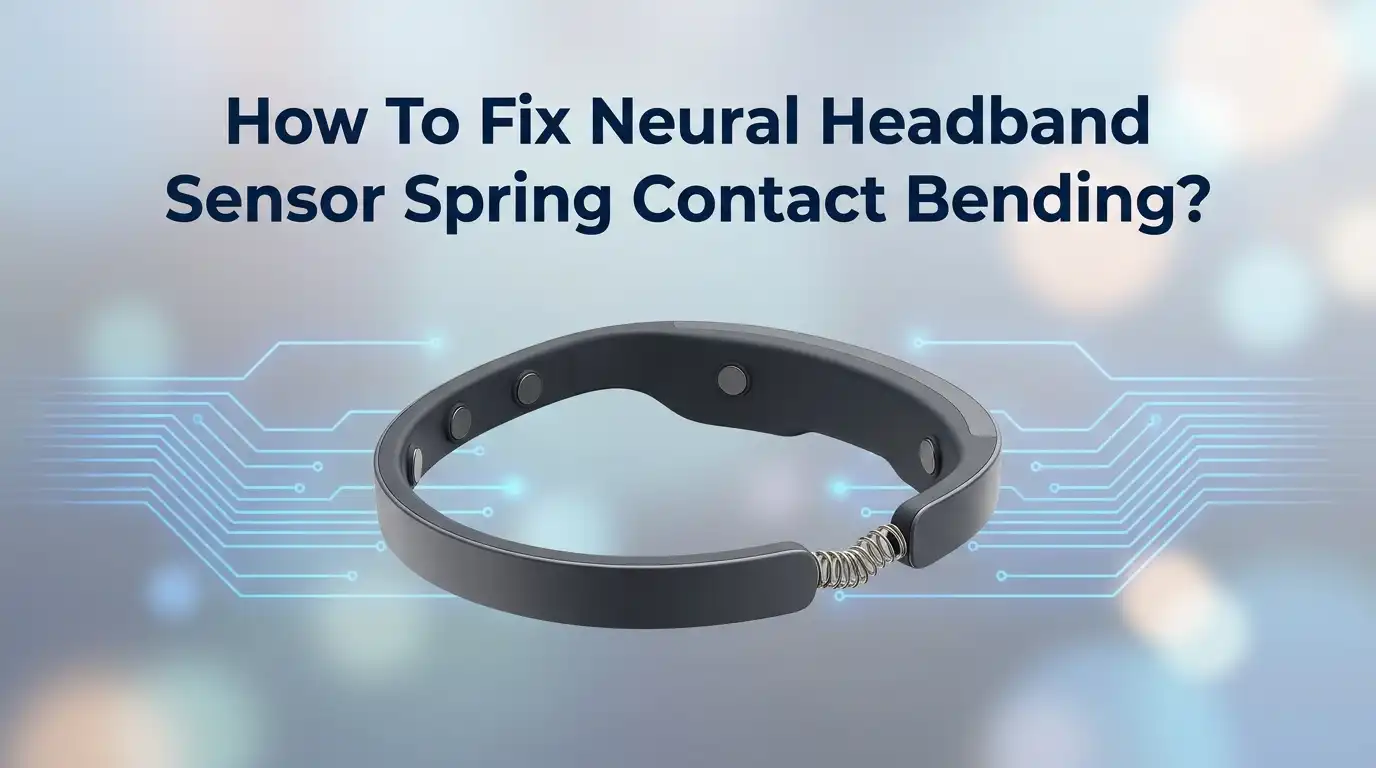
Each spring contact consists of a metal pin attached to a flexible spring mechanism. The pin itself must stay perfectly straight to function well. When bent, the pin no longer touches your skin properly. This breaks the electrical connection your device needs to work.
Your neural headband typically has multiple spring contacts arranged around the sensor array. All of them need to maintain good contact simultaneously. If even one spring contact bends, it can affect the overall signal quality. This is why checking all contacts matters during repair.
The spring mechanism allows for small adjustments as you move and wear the headband. It also absorbs minor impacts that might otherwise damage the sensors. However, repeated stress or accidental bending can permanently deform these springs.
Understanding how these sensors work helps you appreciate why straightening them requires care. You cannot simply force them back into shape without risking permanent damage. The metal fatigues when bent repeatedly. Gentle, deliberate movements work much better than aggressive corrections.
Most spring contact problems happen gradually over time. Regular use, storage pressure, or accidental drops can all cause bending. The good news is that catching the problem early makes fixing it easier. When you notice signal problems, check your spring contacts immediately before other components suffer damage too.
Common Causes of Sensor Spring Contact Bending
Sensor spring contacts bend for several reasons. The most common cause is regular wear and tear from daily use. Each time you put on and take off your neural headband, the springs experience stress. Over months of repeated pressure, the metal fatigues and loses its original shape.
Accidental drops or impacts cause immediate bending. If you accidentally knock your headband against a hard surface, the delicate spring contacts can bend or twist. Even a fall from a low height can damage the sensor array.
Improper storage leads to bent contacts too. Storing your headband in a cramped space or under heavy objects puts pressure on the springs. The springs gradually deform when compressed for long periods.
Sweat and moisture contribute to corrosion and weakening. Salt from perspiration can cause the metal to corrode slightly. Weakened metal bends more easily than fresh metal.
Incorrect insertion during assembly causes initial damage. If someone inserts the spring contacts at the wrong angle during manufacturing or repair, they start bent from the beginning. This problem compounds over time.
Excessive force during cleaning damages the contacts. Scrubbing too hard or bending the headband while washing can bend the springs. Gentle handling during maintenance prevents this issue.
Temperature changes affect metal flexibility too. Extreme heat or cold can make the metal brittle or overly flexible. This impacts how well the springs maintain their position.
Understanding these causes helps you prevent future bending. Most damage comes from handling, storage, or normal wear rather than manufacturing defects. Being aware of these risk factors lets you take better care of your neural headband and avoid repeating the same mistakes that caused the initial problem.
Signs Your Headband Sensors Are Bent or Misaligned
Your neural headband sends signals to your brain activity reader through spring contacts. When these contacts bend or misalign, you’ll notice specific warning signs that tell you something’s wrong.
The most obvious sign is a weak or missing connection. Your headband might lose signal intermittently or fail to connect entirely. You’ll see this when the device struggles to read your brain waves or drops the connection during use.
Look for visible gaps between the sensor and your scalp. A bent contact won’t sit flush against your skin, creating air pockets that block signal transmission. This happens even when you wear the headband normally.
Pay attention to uneven pressure across your head. Some spots feel loose while others feel tight. This unbalanced sensation means the spring contacts aren’t aligned properly. Your scalp should feel consistent pressure all around the sensor array.
Check for inconsistent readings on your device screen. One sensor might show strong activity while neighboring sensors show nothing. This pattern indicates that specific contacts are bent or misaligned.
Notice if your headband feels uncomfortable or unstable. Bent contacts often cause the headband to shift or slip during wear. It might feel like it’s constantly sliding forward or to one side.
Examine the metal pins visually if you can access them. Bent pins will appear crooked rather than straight. Even slight angles reduce contact quality significantly.
Listen for clicking or popping sounds when you adjust the headband. These noises suggest loose or misaligned contacts moving around inside the device.
If you experience any of these signs, your spring contacts likely need attention. Early detection helps you fix problems before they worsen and cause permanent damage to your neural headband system.
Step-by-Step Guide to Realigning Bent Spring Contacts
Before you start straightening bent spring contacts, gather the right tools and prepare your workspace. You need a clean, flat surface with good lighting so you can see the small metal components clearly.
Find a soft cloth or microfiber material to place under your headband. This prevents additional damage while you work. You’ll also need a magnifying glass to inspect the contacts closely and identify exactly where the bending occurs.
Prepare your tools carefully. A small precision tool helps you realign contacts without causing fresh damage. Many people use dental picks or specialized electronics tools designed for delicate work. Avoid using regular screwdrivers or metal objects that might slip and scratch the contacts further.
Disconnect your neural headband completely from any power source or wireless connection. This keeps you safe and prevents electrical issues during the repair process. Allow the device to sit for several minutes if it was recently used.
Check your headband’s manual for specific disassembly instructions. Some models allow you to access spring contacts directly, while others require partial disassembly. Understanding your specific design prevents you from breaking additional components.
Work in a dust-free environment. Dust particles can interfere with sensor accuracy after you finish realigning. Consider working in a room away from fans or open windows.
Ensure your hands are clean and dry before touching any components. Moisture or dirt transfers easily to metal contacts and reduces their effectiveness. Wash your hands thoroughly and dry them completely.
Keep a small container nearby to hold any screws or tiny parts you remove. Losing even one small component creates connection problems later. Label the container clearly so you remember which parts came from which location on your headband.
Tools and Techniques for Safe Sensor Adjustment
When you work with neural headband sensors, using the right tools makes all the difference. Your goal is to straighten bent contacts without creating new damage.
Start with precision tools designed for delicate electronics work. A small flathead tool or precision screwdriver helps you apply gentle, controlled pressure. Avoid using regular household tools because they can slip and cause additional bending. Tweezers work well for holding and positioning contacts while you adjust them.
Soft materials protect your sensor during adjustment. Place your headband on a microfiber cloth or soft foam surface. This prevents the device from sliding around and protects the contacts from scratching. A magnifying glass or jeweler’s loupe helps you see exactly what you’re doing, especially with tiny metal pins.
Lighting matters more than you might think. Work in bright natural light or use a small LED work lamp. Poor lighting causes you to misjudge the contact position, which can make bending worse instead of better.
Keep a small container nearby for any tiny screws or components you remove. Losing pieces makes reassembly impossible. Label everything if you remove multiple parts.
Temperature control affects your work quality. Work in a room temperature environment. Cold metal becomes brittle and breaks easily. Warm metal bends more smoothly without cracking.
Have your headband manual available before you start. Different models have different disassembly methods. Some contacts are accessible without full disassembly while others require removing multiple components.
Clean your tools before and after use. Dust or residue on your tools transfers to the sensors and causes connection problems later. Use a dry cloth to wipe everything down.
Testing Signal Quality After Repair
After you realign your spring contacts, testing becomes your next critical step. You need to verify that your sensor now communicates properly with your device.
Start by reconnecting your headband to its power source. Wait a few seconds for the system to initialize completely. This gives your device time to detect the sensor and establish a connection.
Open your companion app or software on your connected device. Look for a signal strength indicator. This number tells you if your contacts now transmit data effectively. Strong signals appear as green indicators or high percentage readings.
Wear your headband and position it on your head exactly as you normally would. Pay close attention to how the sensor feels against your scalp. The pressure should feel even across all contact points now.
Move your head slowly in different directions while monitoring your app. Watch for signal drops or fluctuations as you shift positions. Consistent readings mean your repair worked. Drops suggest the contacts still need adjustment.
Check for any error messages on your screen. Your device might display warnings about loose connections or poor signal quality. These messages guide you toward problem areas that need more work.
Take multiple readings over several minutes. This extended testing reveals whether your fix holds steady or fails intermittently.
If your signal remains weak after these tests, the contacts may need further realignment. Return to your adjustment process and make minor corrections. Sometimes small tweaks make the difference between failure and success.
Document your signal strength numbers before and after your repair. This comparison proves whether your work actually improved performance. Keep these records for future reference if problems develop later.
Preventing Future Bending and Maintaining Sensor Integrity
Your neural headband’s sensor spring contacts need regular care to stay in good shape. Preventing future bending starts with how you store and handle your device every single day.
Keep your headband in a protective case when you’re not wearing it. This simple step stops accidental drops and pressure damage that causes contact bending. Store your case in a cool, dry place away from direct sunlight.
Avoid placing heavy objects on top of your headband. The weight can gradually bend those delicate spring contacts over time. Never leave your headband crumpled in a bag or drawer.
Handle your headband with both hands when putting it on or taking it off. This distributes pressure evenly across the device. Grabbing it by one side can twist the sensor contacts out of alignment.
Clean your headband gently once a week using a soft, dry cloth. Dust buildup can make contacts stick or bend when you adjust the fit. Never use water or cleaning liquids on the sensor area.
Check your spring contacts monthly by looking at them under good lighting. Catch any early bending signs before they become serious problems. A small bend now is easier to fix than major damage later.
Keep your headband away from extreme temperatures and humidity. These conditions can weaken the metal springs and make them bend more easily.
Inspect the contact points regularly during normal use. If you notice your signal weakening gradually, the contacts may be bending slightly. Address this immediately before the problem gets worse.
Store spare parts or replacement headbands separately from your main device. This prevents accidental damage from contact between multiple units.
Troubleshooting Persistent Connectivity Issues
Persistent connectivity issues often point to spring contact problems that need immediate attention. Your neural headband may lose signal strength, drop connections frequently, or show inconsistent readings. These problems happen when spring contacts bend or misalign inside the sensor area.
Start by checking if your headband powers on normally. A device that won’t turn on suggests deeper electrical issues beyond contact bending. If it powers on but shows weak signals, contact bending is likely your culprit.
Look at your spring contacts under bright lighting. Use a magnifying glass if you have one. Bent contacts appear visibly warped or angled incorrectly compared to their neighbors. Straight contacts should run parallel to each other without gaps or tilting.
Test your connection by moving your headband slightly on your head. If the signal jumps between strong and weak as you shift position, bent contacts are creating inconsistent pressure points. This inconsistency is a clear sign that realignment will help.
Gently apply pressure to bent contacts using a plastic tool. Never use metal objects that could scratch or damage the contact surface. Work slowly and deliberately. Small adjustments often restore connectivity better than forcing contacts back into place.
After making adjustments, test your connection again immediately. Wear your headband normally and check your app for signal strength changes. Multiple tests across several minutes give you accurate information about whether your fix worked.
If connectivity remains poor after realignment, your contacts may have permanent damage. Some contacts wear out after repeated bending and lose their ability to make proper electrical contact. In these cases, professional repair becomes necessary to restore full functionality.
Final Thoughts
Fixing bent spring contacts on your neural headband is a simple task once you know the steps. You do not need special tools or technical skills.
Most bending issues happen from daily wear and tear. With gentle care, you can keep your sensors working well for a long time.
Patience matters most during this process. Rushing your repair can cause more damage to delicate spring contacts.
Always work in good lighting. This helps you see small bends that you might miss otherwise.
Take your time with each adjustment. Small, careful movements work better than quick, forceful ones.
Remember that prevention beats repair every time. Regular checks catch problems before they become serious.
Your headband gives you valuable data about your brain activity. Taking care of its sensors protects this important function.
Do not ignore early signs of connectivity trouble. Weak signals often point to contact issues you can fix yourself.
If your repairs do not solve the problem, do not force it further. Some damage needs professional attention instead.
Contact your headband’s manufacturer if problems continue. They can guide you through more advanced solutions.
Keep a simple maintenance routine going forward. Weekly cleaning and monthly inspections make a real difference.
Store your headband properly between uses. This one habit prevents most bending problems from happening.
Your effort to understand your device pays off over time. You will spot issues faster and fix them with confidence.
Every headband owner faces contact issues eventually. Knowing how to handle them saves you time and money.
Trust the process you have learned here. With steady practice, these fixes become second nature.
Your neural headband deserves this care. Simple maintenance keeps it working accurately for years to come.
Frequently Asked Questions
What causes spring contacts to bend in the first place?
Spring contacts bend from regular use over time. Pressure from wearing your headband daily creates wear on the metal springs. Dropping your headband or sitting on it causes sudden bending. Temperature changes can also make metal expand and contract, weakening the springs. Humidity and moisture damage the contacts slowly.
Can I straighten a bent contact myself without tools?
Yes, you can straighten contacts using items you already have at home. Use a plastic spoon or plastic tool to gently push the bent contact back into place. Never use metal objects because they scratch and damage the contact surface. Work slowly and test your connection after each small adjustment. Stop if you feel resistance.
How do I know if my spring contact is permanently damaged?
A permanently damaged contact won’t respond to straightening attempts. Your signal stays weak or drops out completely even after realignment. The contact may look cracked, broken, or severely deformed under magnification. If the spring no longer holds its shape after you straighten it, damage is permanent. At this point, contact your manufacturer for replacement options.
Should I keep using my headband if one contact is bent?
You can keep using it, but with limitations. One bent contact reduces signal quality. Your headband may give you incomplete or inaccurate data. It’s better to fix the contact first before relying on your readings. If you cannot fix it yourself, get professional help to avoid further damage.
What’s the best way to prevent future contact bending?
Store your headband in a protective case when not in use. Avoid placing heavy items on top of it. Handle it with both hands when putting it on or taking it off. Keep it away from extreme heat, cold, and moisture. Check your contacts monthly under good lighting to catch problems early.

Hi, I’m Minnie Cole, the creator of The Output Lab — a space where I share my passion for all things tech. I spend my days exploring the latest gadgets, devices, and electronics on Amazon, putting them through real-world testing so you don’t have to.