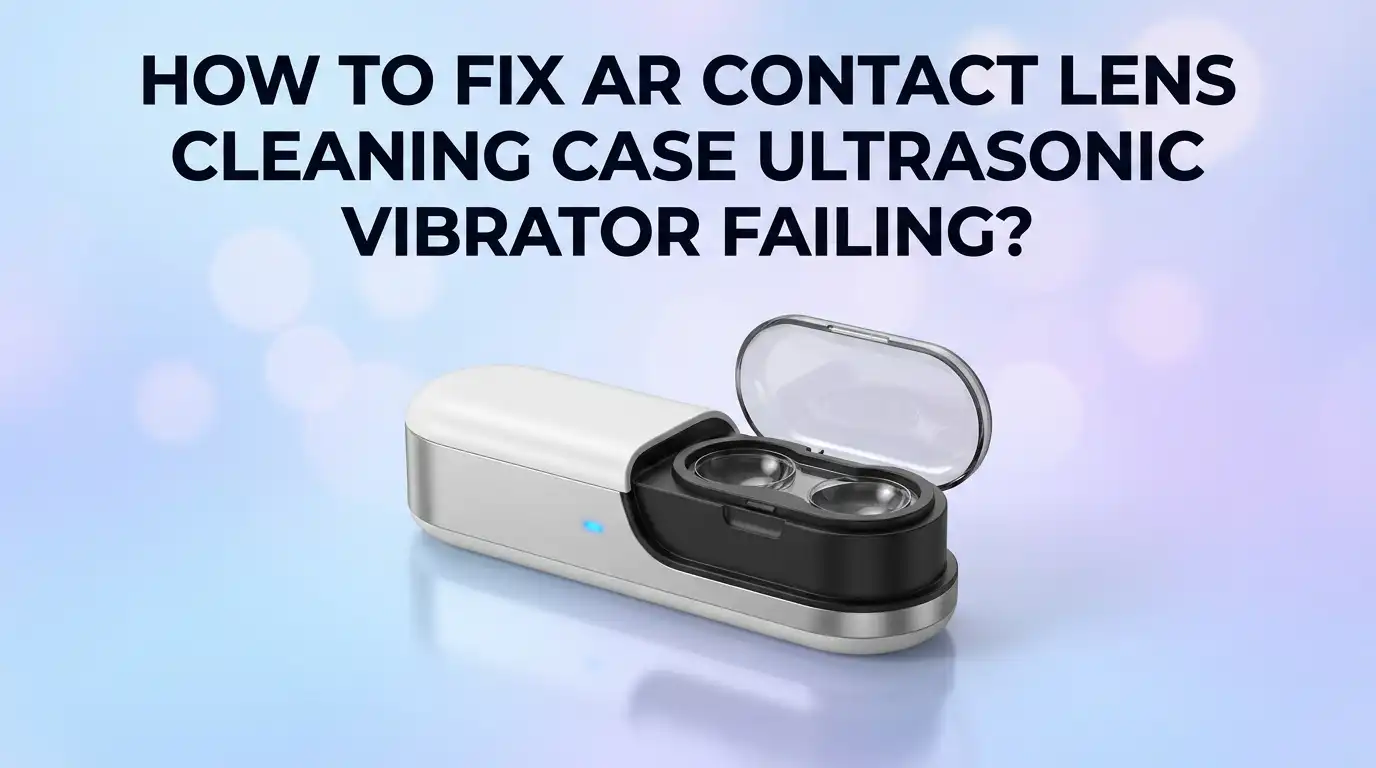
How To Fix AR Contact Lens Cleaning Case Ultrasonic Vibrator Failing?
Ultrasonic contact lens cleaners make daily care simple and fast. But what happens when your device stops vibrating suddenly?
This problem frustrates many users. Your cleaning case sits quietly instead of doing its job.
A silent ultrasonic vibrator often signals a fixable issue. You do not need to panic or buy a new unit right away.
Many common problems have simple solutions you can try at home. Power connections, water levels, and internal components all play a role.
In a Nutshell
- Check the power source first. Weak batteries or a loose charging cable often stop the vibration. Swap batteries or test with a different cable.
- Inspect the water level in the case. Too little or too much water can block the ultrasonic function. Fill it to the marked line for best results.
- Look for debris inside the unit. Dirt or lens solution residue can jam the vibrator plate. Clean it gently with a soft brush.
- Test the on/off switch and buttons. A stuck button sometimes mimics a bigger mechanical failure. Press firmly and listen for a click.
- Reset the device properly. Turn it off, wait a few seconds, then turn it back on. This simple step fixes many electronic hiccups.
- Know when to seek professional help. If nothing works, the internal motor may need repair. A qualified technician can check the parts safely.
Understanding How the Ultrasonic Vibrator Works
The ultrasonic vibrator in your AR contact lens cleaning case works by creating rapid sound waves that shake at frequencies humans cannot hear. These vibrations move so fast they generate tiny bubbles in the water solution inside the case. When those bubbles collapse, they create a cleaning action that removes protein buildup and debris from your lenses.
The vibrator itself is a small motor attached to a metal plate at the bottom of the cleaning chamber. When you press the power button, electricity flows to this motor and makes it vibrate hundreds of times per second. The water around your lenses picks up these vibrations and cleans every surface of the lens material.
Understanding this process helps you spot problems faster. If the vibrator fails, the cleaning action stops completely. Your lenses sit in still solution without any cleaning power.
The vibrator needs three things to work properly. First, it needs electrical power to activate the motor. Second, it needs water or cleaning solution to transfer the vibrations to your lenses. Third, it needs a clear path so nothing blocks the vibrating plate from moving freely.
When any of these three elements breaks down, the vibration stops. A dead battery cuts off power immediately. Low water levels mean vibrations cannot travel to your lenses effectively. Dried solution or debris can physically jam the vibrating plate and prevent movement.
Knowing how your device functions makes troubleshooting logical. You simply check each of these three requirements one by one. This systematic approach saves time and helps you fix the problem without guessing. Most failures happen because one of these basic needs goes unmet, not because the motor itself is broken.
Common Signs Your Ultrasonic Cleaner Is Failing
Your AR contact lens cleaning case sends clear signals when the ultrasonic vibrator starts to fail. Learning to recognize these signs helps you catch problems early before they get worse.
The most obvious sign is complete silence during the cleaning cycle. When you press the power button, you should hear a gentle humming or buzzing sound. If nothing happens, the vibrator has likely stopped working. Some cases produce a faint vibration you can feel by touching the chamber. If this sensation disappears, failure is occurring.
Another common sign is weak or inconsistent vibration. The cleaning action might start strong, then fade halfway through the cycle. You may notice the vibrator works only on certain settings or days. This inconsistency suggests the motor is wearing out gradually.
Pay attention to unusual sounds or grinding noises. A healthy ultrasonic cleaner operates quietly. Strange clicking, grinding, or rattling sounds mean something inside is damaged or loose. These noises often come from the vibrator plate becoming misaligned or debris blocking movement.
Watch for longer cleaning times that don’t work as well. If your lenses come out with visible residue even after a full cycle, the vibration strength has decreased. Effective ultrasonic cleaning happens quickly and thoroughly. Poor results indicate vibrator failure.
Some cases show heating problems without vibration. The water may warm up normally, but you feel no vibration at all. This combination suggests the motor has failed while other electrical components still function.
Visible cracks or leaks around the chamber also damage the vibrator. Water seeping into the motor housing causes immediate failure. These physical signs require prompt attention to prevent permanent damage to your cleaning device.
Common Causes of Ultrasonic Vibrator Failure
The ultrasonic vibrator in your AR contact lens cleaning case can fail for several reasons beyond the basics you’ve already checked. Understanding these causes helps you fix problems faster.
Electrical component wear happens over time with regular use. The vibrator motor contains tiny circuits and connections. These parts can corrode or loosen after months of exposure to moisture and cleaning solutions. Water seeping into electrical connections causes shorts that stop vibration completely.
Cavitation bubble collapse is how ultrasonic cleaners actually work. Sound waves create and collapse tiny bubbles in the liquid. When the vibrator frequency becomes unstable, these bubbles don’t form properly. Your case then fails to clean lenses effectively even though it appears to vibrate.
Mineral buildup from tap water creates a major problem. Calcium and magnesium deposits accumulate on the vibrator plate over time. This crusty layer blocks the vibrations from transferring to the cleaning solution. The motor works but produces no cleaning action.
Seal degradation around the cleaning chamber allows water to escape. Rubber gaskets and seals wear out gradually. Once they fail, water leaks out and the vibrator can’t create the proper acoustic environment needed for cleaning.
Transducer damage is the most serious issue. The transducer converts electrical signals into vibrations. Physical impacts, freezing temperatures, or manufacturing defects can crack this component. A damaged transducer means the vibrator cannot function regardless of power supply.
Frequency drift occurs when internal components shift slightly. The vibrator operates at a specific frequency. Even small changes prevent proper cavitation bubble formation. Your case might vibrate but clean poorly.
These causes often work together. One failure can trigger others. Regular maintenance and proper storage prevent most of these problems from developing.
Step-by-Step Guide to Diagnosing the Problem
Start by listening carefully to your cleaning case during a cycle. Silence means trouble. Run the device with the lid open and place your hand near the bottom chamber. You should feel gentle vibrations. No sensation suggests an electrical problem or dead battery.
Next, check the power source. Inspect the charging cable for visible damage or bent connectors. Clean the charging port with a dry cloth to remove dust or mineral deposits. Try charging for the full recommended time. Some cases need 2 to 4 hours to reach full power.
Test with fresh cleaning solution. Old or contaminated liquid can interfere with vibration. Empty the chamber completely and refill with distilled water. Run a short cycle. This simple step eliminates liquid problems as the cause.
Look inside the chamber carefully. Cracks or white mineral buildup indicate serious issues. Mineral deposits accumulate from tap water use over months. These deposits block the vibrator plate and reduce performance. Leaks around seams mean water entered internal components.
Listen for grinding or buzzing sounds instead of smooth humming. These noises suggest the motor is struggling or components are loose. Unusual sounds often appear before complete failure.
Check if the case gets hot without vibrating. Heat without movement means electrical current flows but the motor cannot move. This points to a stuck transducer or internal blockage.
Document what you observe. Write down whether you hear silence, weak vibration, or strange sounds. Note if the chamber has visible damage or leaks. Record how long the cleaning cycle takes. This information helps you understand whether the problem is electrical, mechanical, or related to mineral buildup. Clear observations guide your next troubleshooting steps.
How To Fix a Weak or Non-Working Ultrasonic Vibrator
When your ultrasonic vibrator becomes weak or stops working, you need a systematic approach to fix it. Start by checking the power connection first. Make sure the charging cable connects properly to your cleaning case. Look for any visible damage on the charging port or cable itself.
Test the power source next. Plug the case into a different outlet to rule out electrical problems. Leave it charging for the full recommended time. Sometimes a completely drained battery needs extended charging before it responds.
Replace the cleaning solution in your case. Old or contaminated liquid reduces vibration effectiveness significantly. Tap water minerals accumulate over time and block the vibrator’s movement. Use distilled water or the solution type your device manual recommends.
Inspect the cleaning chamber carefully. Open your case and look for white crusty deposits or cloudiness inside. These mineral deposits coat the vibrator and reduce its power. Gently rinse the chamber with distilled water and a soft cloth.
Check for water leaks around the chamber seals. If liquid escapes, the vibrator cannot generate proper force. Dry the exterior completely and look for cracks or loose components.
Listen closely during operation. A healthy vibrator produces a smooth, consistent humming sound. Grinding, buzzing, or sputtering noises indicate internal damage.
Try a test cycle with fresh solution and a clean chamber. Run the cleaning cycle for a full duration. Feel the vibration intensity by gently touching the case exterior. If vibration feels stronger after these steps, you’ve likely solved the problem. If weakness continues despite these fixes, internal transducer damage may require professional service or replacement.
Cleaning and Maintenance Tips To Prevent Future Failures
Preventing future failures starts with understanding what causes damage to your ultrasonic vibrator. Regular maintenance is your best defense against expensive repairs or replacements.
Use distilled water instead of tap water for your cleaning solution. Tap water contains minerals that accumulate inside the chamber over time. These deposits interfere with vibration and reduce cleaning effectiveness. Distilled water costs very little and protects your equipment significantly.
Empty the cleaning solution after each use. Stagnant liquid breeds bacteria and mineral crystals that damage internal components. A dry chamber stays cleaner longer and reduces seal degradation.
Check your seals monthly for signs of wear or cracking. Seals protect the delicate transducer from water exposure. Replace them before they fail completely. Worn seals allow moisture to reach electrical parts and cause rust.
Store your cleaning case in a cool, dry location away from direct sunlight. Heat and humidity accelerate component breakdown. Avoid storing it in bathrooms where steam and moisture are constant problems.
Run cleaning cycles at recommended intervals only. Overusing your case forces the vibrator to work harder than designed. This excessive strain wears out internal components faster.
Keep the exterior clean and dry. Wipe down the case after each use to prevent water from seeping into crevices. Pay special attention to the power connection area where moisture causes corrosion.
Check your power cord regularly for damage or fraying. A damaged cord creates electrical hazards and inconsistent power delivery to your vibrator.
Follow the manufacturer’s guidelines for maintenance schedules and cleaning solution types. These recommendations exist because they work. Proper care extends your cleaning case’s lifespan by years and keeps your AR contact lenses safe and clean.
Mistakes To Avoid When Troubleshooting Your AR Contact Lens Case
When troubleshooting your AR contact lens cleaning case, certain mistakes can make the problem worse. Understanding what to avoid protects your device and saves you time.
Do not ignore warning signs early on. Many people wait until the vibrator completely fails before investigating. Strange sounds, weak vibrations, or unusual heat are signals that something needs attention. Address these issues immediately to prevent permanent damage.
Avoid using tap water during troubleshooting. Even when testing your case, tap water introduces minerals that damage internal components. These deposits build up quickly and interfere with vibration frequency. Always use distilled water for any test cycles.
Never force the cleaning chamber open. If you need to inspect inside, be gentle. Forcing the lid or chamber can crack seals that keep water out. Damaged seals lead to leaks that destroy the transducer completely.
Do not skip the power source check. Many people assume the vibrator itself is broken when the real problem is electrical. Test multiple outlets before concluding the device has failed internally.
Avoid mixing different cleaning solutions. Each solution has specific properties that work with your case design. Switching solutions during troubleshooting introduces variables that confuse your diagnosis.
Do not operate your case with an empty chamber. Running cycles without solution or with minimal liquid causes the transducer to overheat. This generates unnecessary stress on components already under strain.
Skip guessing and document what you observe instead. Write down when problems occur, what sounds you hear, and what conditions trigger failures. This information helps you identify patterns and understand whether the issue is mechanical or electrical.
Finally, avoid opening the case repeatedly. Each time you open it, you risk damaging seals further. Only inspect when absolutely necessary and handle components with care.
When To Seek Professional Repair or Replacement Parts
Your AR contact lens cleaning case may need professional help if basic troubleshooting doesn’t work. Know when to stop trying DIY fixes and call in an expert.
If your ultrasonic vibrator still fails after you’ve tested the power source, cleaned the chamber, and replaced the solution, professional repair is your next step. A technician can diagnose internal electrical issues that you cannot see or fix at home. They have specialized tools to test the vibrator motor and circuit board.
Contact the manufacturer directly if your case is still under warranty. Most companies offer repair or replacement services at no cost during the warranty period. Check your documentation to confirm your coverage dates. The manufacturer knows exactly how their product works and can fix it properly.
Look for authorized service centers in your area. These facilities have trained staff and genuine replacement parts. They understand the specific design of your AR lens case and can restore it to working condition.
Consider replacement parts if repair costs seem high. Some components like the vibrator motor or power adapter can be purchased separately. Swapping out a single failing part costs less than replacing the entire case. However, only attempt this if you’re comfortable opening the device and following installation instructions carefully.
Request a detailed repair estimate before authorizing any work. Ask the technician what they found wrong and why professional repair was needed. This information helps you prevent similar problems in the future.
Keep your receipt and warranty information organized. Professional repair documentation proves your case was serviced correctly, which matters if problems happen again soon after.
Final Thoughts
Fixing an ultrasonic vibrator failure does not need to feel overwhelming. Most problems come from simple causes. Power issues, dirty chambers, and old solution cause many failures.
Start with the easiest checks first. Test your power source before assuming the motor is broken. Clean the chamber thoroughly and check every seal.
Patience makes a real difference here. Rushing through steps often leads to missed clues. Take your time with each test you run.
Your cleaning case works hard every day. It deserves proper care and quick attention when issues arise. Small problems grow into bigger ones without action.
Document what you see during testing. This habit helps you spot patterns over time. It also helps repair technicians if you need their help later.
Regular maintenance prevents most failures before they even start. Clean water, proper storage, and scheduled care go a long way. These simple habits protect your investment.
Some failures still happen despite good care. Parts wear out naturally over time. This is normal and expected with any device.
Know when to call for professional help. Trying to fix complex internal problems yourself can cause more damage. A trained technician has the right tools and knowledge.
Your vision health matters more than saving money on repairs. A properly working cleaning case keeps your contact lenses safe and clear. Never skip this step for convenience.
Trust your instincts if something feels wrong. Unusual sounds, weak vibrations, or visible damage are signs to act on. Address problems early rather than waiting.
Your AR contact lens cleaning case can serve you well for years. Follow these steps, stay consistent, and act quickly when problems appear. Good habits keep your device running smoothly.
Frequently Asked Questions
Why does my ultrasonic vibrator make strange noises but still works?
Strange noises often mean something inside the chamber is loose. Debris or mineral buildup can rattle during operation. Check the chamber carefully for any particles or dried cleaning solution. Make sure you’re using distilled water, not tap water. Sometimes the vibrator motor itself starts to wear, which creates grinding or buzzing sounds. If the case still cleans your lenses properly, the noise may just be annoying rather than dangerous. However, document when the noise started and how it sounds. This information helps if you need professional service later.
Can I fix a vibrator that won’t turn on at all?
Start with the power source first. Check that your charging cable connects firmly to the case. Try a different outlet to rule out electrical problems. Inspect the charging port for dirt or corrosion. Sometimes a simple cleaning of the port solves the issue. If the case still won’t power on after these steps, the battery or internal circuitry may have failed. This usually requires professional repair or replacement.
How often should I clean the chamber to prevent vibrator failure?
Clean your chamber after every use. Remove any leftover solution and dry the inside completely. Once weekly, run distilled water through a full cycle to flush out mineral deposits. This simple habit prevents most vibrator problems. Minerals from tap water build up over time and interfere with vibration. Regular maintenance keeps your case working smoothly for years.
Is it safe to use my cleaning case if the vibrator sounds weak?
A weak vibrator may not clean your lenses effectively. Your contacts might not get properly disinfected. Stop using it until you understand what’s wrong. Weak vibration usually means the motor is losing power. Test the battery charge level first. If everything checks out but vibration remains weak, the motor itself may be failing. Get professional help before continuing regular use.

Hi, I’m Minnie Cole, the creator of The Output Lab — a space where I share my passion for all things tech. I spend my days exploring the latest gadgets, devices, and electronics on Amazon, putting them through real-world testing so you don’t have to.