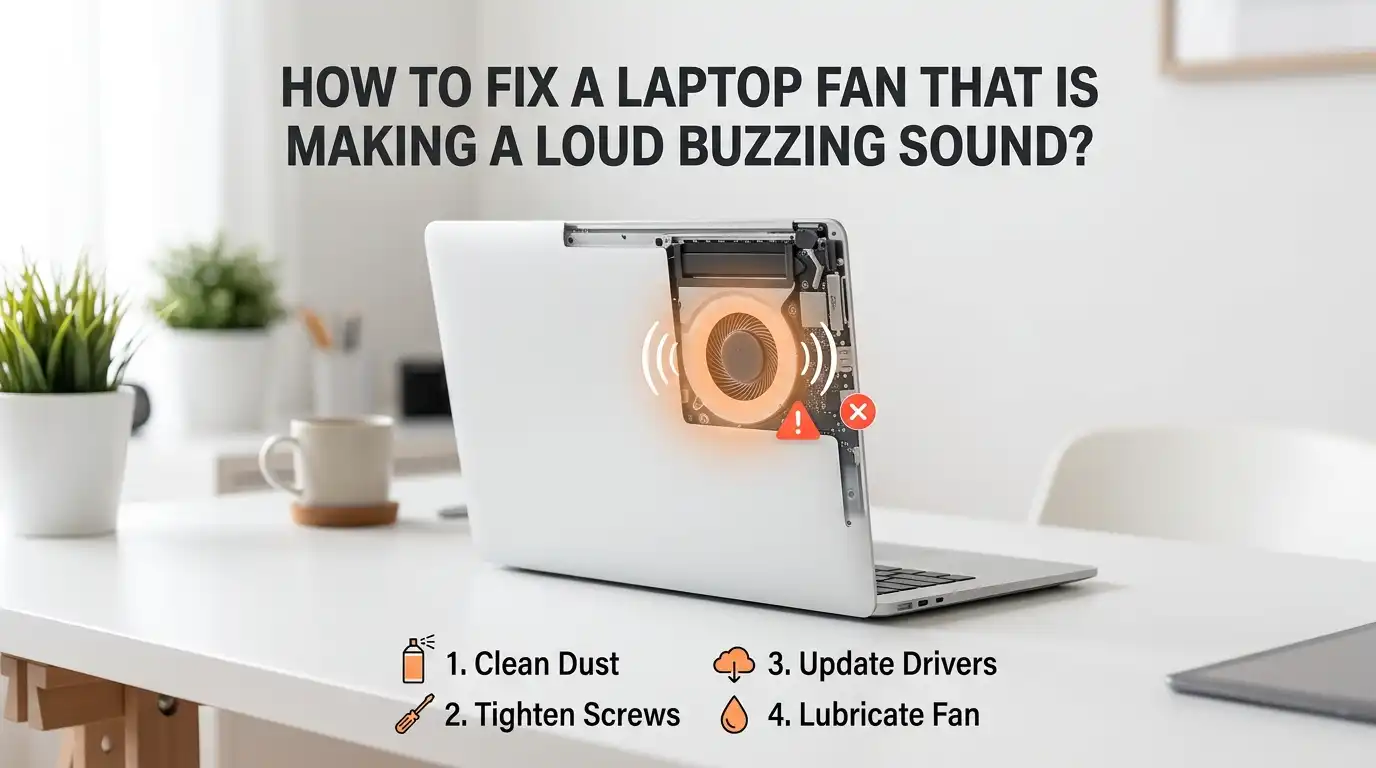
How to Fix a Laptop Fan That Is Making a Loud Buzzing Sound?
A loud buzzing sound from your laptop fan can ruin your focus, disturb meetings, and even hint at a deeper hardware problem.
The noise often starts small, then grows louder over weeks until it becomes impossible to ignore. The good news is that most buzzing fan problems are fixable at home with simple tools and a bit of patience.
This guide walks you through every cause and every fix. You will learn how to spot the real reason behind the noise, how to clean the fan safely, and when to replace it.
Key Takeaways
- Dust buildup is the top cause of a buzzing laptop fan. A yearly cleaning with compressed air solves most cases in under thirty minutes.
- Worn bearings create a deep, constant buzz that never goes away. This problem needs a fan replacement, not just cleaning.
- Loose screws or a bent fan blade make a rattling buzz that changes pitch with movement. Tightening or straightening the part usually fixes it.
- Background software and malware push the CPU hard, which forces the fan to spin faster and louder. Closing heavy apps and running a virus scan can cut noise fast.
- Soft surfaces like beds and couches block air vents and cause the fan to overwork. Always place your laptop on a hard, flat surface.
- Undervolting and fan curve tweaks lower heat output, which keeps the fan quiet during heavy tasks like gaming or video editing.
Identify the Type of Buzzing Sound First
Your fan tells you what is wrong through the type of noise it makes. A steady low buzz often points to dust or dried lubricant. A rattling buzz that changes with movement suggests a loose screw or cracked blade. A high pitched whine mixed with buzzing means the bearing is failing.
Listen carefully for one minute while the laptop runs a simple task. Then run a heavy task like a video. Compare the two sounds. Steady buzzing under light load usually means a mechanical issue. Loud buzzing only under heavy load points to overheating or software stress.
Write down what you hear before you start any fix. This step helps you choose the right solution and avoids wasted effort on the wrong repair.
Clean the Fan With Compressed Air
Dust is the number one cause of buzzing fans. Over months, dust packs into the blades and vents, which throws the fan off balance and forces it to spin harder. Compressed air removes this dust in minutes.
Turn off your laptop and unplug it. Hold the can upright and spray short bursts into the side vents. Then flip the laptop and spray into the bottom intake. Keep the nozzle two inches away from the vent. Hold the fan blades still with a toothpick so the air does not spin them too fast, which can damage the bearing.
Pros: Quick, cheap, and safe for beginners. No need to open the laptop.
Cons: Surface cleaning only. Deep dust inside the heatsink may still remain, and the buzzing might return in a few weeks.
Open the Laptop and Deep Clean the Fan
If compressed air does not work, you need a deeper clean. Find a video guide for your exact laptop model on YouTube. Gather a Phillips screwdriver, a plastic pry tool, and a soft brush.
Remove the back panel screws and lift the cover gently. Unplug the battery first to prevent short circuits. Locate the fan, then unscrew it and lift it out. Use a soft brush to wipe each blade. Clean the heatsink fins with a cotton swab dipped in isopropyl alcohol.
Pros: Removes deep dust that surface cleaning misses. Often solves long term noise issues. Lets you inspect other parts too.
Cons: Risk of damaging cables or stripping screws. May void your warranty if the laptop is still under coverage.
Check for Loose Screws and Fan Mounts
A fan held by loose screws will vibrate against the chassis. This creates a buzzing sound that can fool you into thinking the fan itself is broken. Always check screws before you buy a new fan.
With the back panel off, look at the three or four screws that hold the fan in place. Tighten each one gently. Do not overtighten, since the plastic mounts can crack. Also check the rubber dampers under the fan. Missing dampers cause direct metal contact, which makes the buzz louder.
If a damper is missing, you can cut a small piece of soft rubber and place it under the screw. This simple fix often cuts the noise by half. Replace the back panel and test the laptop before you put it back into daily use.
Inspect the Fan Blades for Damage
A cracked or bent blade throws the fan out of balance, which creates a steady buzzing hum. This often happens after a drop or after rough cleaning with compressed air at full strength.
Remove the fan and spin it slowly with your finger. Watch each blade as it turns. Look for chips, cracks, or warps. Even a tiny bend on one blade can cause noise because the fan spins thousands of times per minute.
You cannot fix a broken blade. The only solution is to replace the entire fan unit. Order a fan with the same model number printed on the original part. Never try to glue a blade back together, since the imbalance will return within days and may damage the motor.
Lubricate the Fan Bearing Carefully
Older fans dry out as their factory lubricant wears off. This causes a deep buzzing that gets worse over time. A small drop of light oil can bring the fan back to life for a few more months.
Peel back the sticker on the center of the fan hub. You will see a small hole. Add one drop of sewing machine oil or light mineral oil. Do not use WD40, since it dries out fast and attracts more dust. Spin the fan by hand to spread the oil, then reseal the sticker.
Pros: Cheap, fast, and effective for older fans. Often adds six to twelve months of quiet operation.
Cons: Only a temporary fix. A worn bearing will eventually fail no matter how much oil you add.
Replace the Fan With a New One
When cleaning and lubrication fail, the fan itself is dying. A worn bearing makes a grinding buzz that no software or cleaning can fix. Replacement is the only permanent answer.
Find the model number printed on the fan label. Search this number on parts websites or ask a local repair shop. Genuine parts cost more but last longer. Aftermarket fans are cheaper but may run louder than the original.
Disconnect the old fan cable, unscrew the unit, and install the new one in the same position. Reapply thermal paste on the CPU if you removed the heatsink during the process. Test the laptop for thirty minutes before you close it up. A new fan usually drops noise back to factory levels.
Update Your BIOS and Drivers
Sometimes the buzzing is not mechanical at all. Outdated BIOS firmware can make the fan spin at full speed even when the laptop is cool. Manufacturers release fan tuning updates several times a year.
Visit your laptop maker’s support page and enter your serial number. Download the latest BIOS and chipset drivers. Follow the on screen steps and do not turn off your laptop during the update. A failed BIOS update can brick the device, so plug into power first.
After the update, the fan often runs at a smarter curve. It only spins fast when needed. Many users report that a single BIOS update cut their fan noise in half without any hardware work. This fix is free and takes about fifteen minutes.
Adjust Fan Speed With Control Software
You can take direct control of fan speed with free tools. Programs like SpeedFan, NoteBook FanControl, or your laptop maker’s own utility let you set custom fan curves. A custom curve keeps the fan slow during light tasks and only speeds up when heat rises.
Install the tool that matches your brand. Set a curve that starts the fan at fifty degrees Celsius and ramps up gently. Avoid setting the fan too low, since this can cause overheating and shorten the life of your CPU.
Pros: Free, reversible, and offers fine control over noise. Great for users who do light tasks most of the day.
Cons: Wrong settings can damage internal parts. Some laptops block third party fan control through locked firmware.
Undervolt Your CPU to Reduce Heat
Less heat means a slower fan, which means less buzzing. Undervolting lowers the voltage sent to your CPU while keeping its speed the same. The chip runs cooler and the fan stays quiet.
Use a tool like ThrottleStop on Intel laptops or Ryzen Controller on AMD systems. Start with a small offset like minus fifty millivolts. Test the laptop for stability by running it for an hour. If it crashes, raise the voltage slightly.
Pros: Free, safe when done in small steps, and very effective at cutting fan noise during gaming or video editing.
Cons: Requires patience and testing. Too much undervolt causes blue screens or sudden shutdowns. Some newer Intel chips block this feature for security reasons.
Scan for Malware and Background Processes
Hidden malware uses your CPU at full speed, which heats up the laptop and forces the fan to roar. Crypto mining viruses are a common cause of sudden fan noise on otherwise healthy laptops.
Open Task Manager with Ctrl Shift Esc. Look at the CPU column and sort by highest use. Search any unknown process name online. If it looks suspicious, run a full scan with Windows Defender or Malwarebytes.
Also close apps you do not need. Browser tabs, Discord, and game launchers all add load. A clean background often drops CPU use by half. The fan then slows down and the buzzing fades. This is the fastest free fix you can try right now.
Use a Cooling Pad and a Hard Surface
Soft surfaces like beds, blankets, and laps block the air vents on the bottom of your laptop. The fan then sucks in less air and spins faster to make up for it. This creates extra noise and heat.
Always use your laptop on a hard, flat surface like a desk or a wooden tray. For heavy tasks, add a cooling pad with built in fans. A good pad pushes cool air into the intake vents and lowers internal temperatures by five to ten degrees.
Pros: Simple, no technical skill needed, and protects your laptop from long term heat damage.
Cons: Adds bulk and cost. Some cheap pads have their own noisy fans, which can make the problem worse instead of better.
When to Take Your Laptop to a Professional
Some problems are beyond a home fix. If your laptop is under warranty, opening it yourself may void coverage. If the buzzing comes with smoke, burning smells, or random shutdowns, stop using it right away.
A pro technician has the right tools to test the motherboard, replace soldered fans, and update firmware safely. Most repair shops charge a flat fee for a fan replacement, which often costs less than damaging the laptop by mistake.
Choose a certified repair center for your brand when possible. Ask for a written quote before any work starts. Get the old fan back if you pay for the part. This proves the repair was real and gives you peace of mind for the months ahead.
FAQs
Why does my laptop fan buzz only sometimes?
The fan buzzes during heavy CPU load, when dust is partly blocking the blades, or when the laptop sits on a soft surface. Watch the noise pattern and match it to your activity to find the cause.
Can I use a vacuum cleaner to clean my laptop fan?
No. A vacuum creates static electricity that can damage internal parts. Always use compressed air or a soft brush. A vacuum can also spin the fan too fast and ruin the bearing.
How long does a laptop fan usually last?
Most laptop fans last three to five years with normal use. Heavy gaming, dusty rooms, and high heat shorten this life. Yearly cleaning can extend it by another year or two.
Is it safe to run a laptop with a buzzing fan?
For short periods, yes. But long term use with a failing fan leads to overheating, which can damage the CPU and motherboard. Fix the noise as soon as you can to avoid bigger repair bills.
Will replacing thermal paste reduce fan noise?
Yes, if the old paste has dried out. Fresh paste transfers heat better, which lets the fan run slower. Replace the paste every two to three years for the best results.
Can a BIOS update really fix fan noise?
Yes. Many fan noise issues come from poor fan curves set by the factory. Updated BIOS files often include smarter curves that keep the fan quiet during light tasks. Always check for updates before you replace any hardware.
Hi, I’m Minnie Cole, the creator of The Output Lab — a space where I share my passion for all things tech. I spend my days exploring the latest gadgets, devices, and electronics on Amazon, putting them through real-world testing so you don’t have to.